Introduction
Pushbuttons are an Arduino component used to switch connections to two points in a circuit when the user presses the pushbutton. In this article, I will concentrate on how Build an Arduin Push Button Circuit
What is an Arduino, and How Does a Push Button Work?

An Arduino is an open-source electronics prototyping platform. It can be used to create interactive objects that can sense and control physical devices. With the help of a push button, the Arduino can be programmed to do various tasks.
A pushbutton is a simple switch that completes or breaks an electric circuit when pressed. The two terminals of the switch are separated by a small air gap called a “toggle”. When you press down on the button, it creates an electrical contact between the two terminals and completes the circuit.
When you release it, it breaks that contact and allows electricity to flow through again only in one direction.
Two ways to use the pushbutton with Arduino Uno
Button with Arduino is a ubiquitous and easy-to-use electronic circuit. It can be used in many different ways by pressing the button.
Two states for the pushbutton
with Arduino:
1) Pushbutton as an input device: The Pushbutton is connected to one of the Arduino’s input pins, and when it is pressed, the input pin will be “high” or “1”.
2) Pushbutton as output device: The Pushbutton is connected to an Arduino’s output pin, and when it is pressed, the output pin will be “high” or “1”.
How to Connect a Push Button to an Arduino Uno
The pushbutton has four legs internally connected in pairs; we only need to use two of the four legs with not internally connected.
Pushbutton Arduino Uno project
Before starting the project
The pushbutton has four legs A1, A2, B1, and B2. when the pushbutton is pressed, legs A1 and B2 are not connected. When the pushbutton is not pressed, legs A1 and B2 are not connected.
The component needed
This tutorial will teach you to connect a push button to an Arduino Uno.
To finish this tutorial, you will require the following items:
- Arduino Uno
- Breadboard
- PushButton
- Four Jumper Wires
- 220 ohm resistor
- LED
The project description
The project description
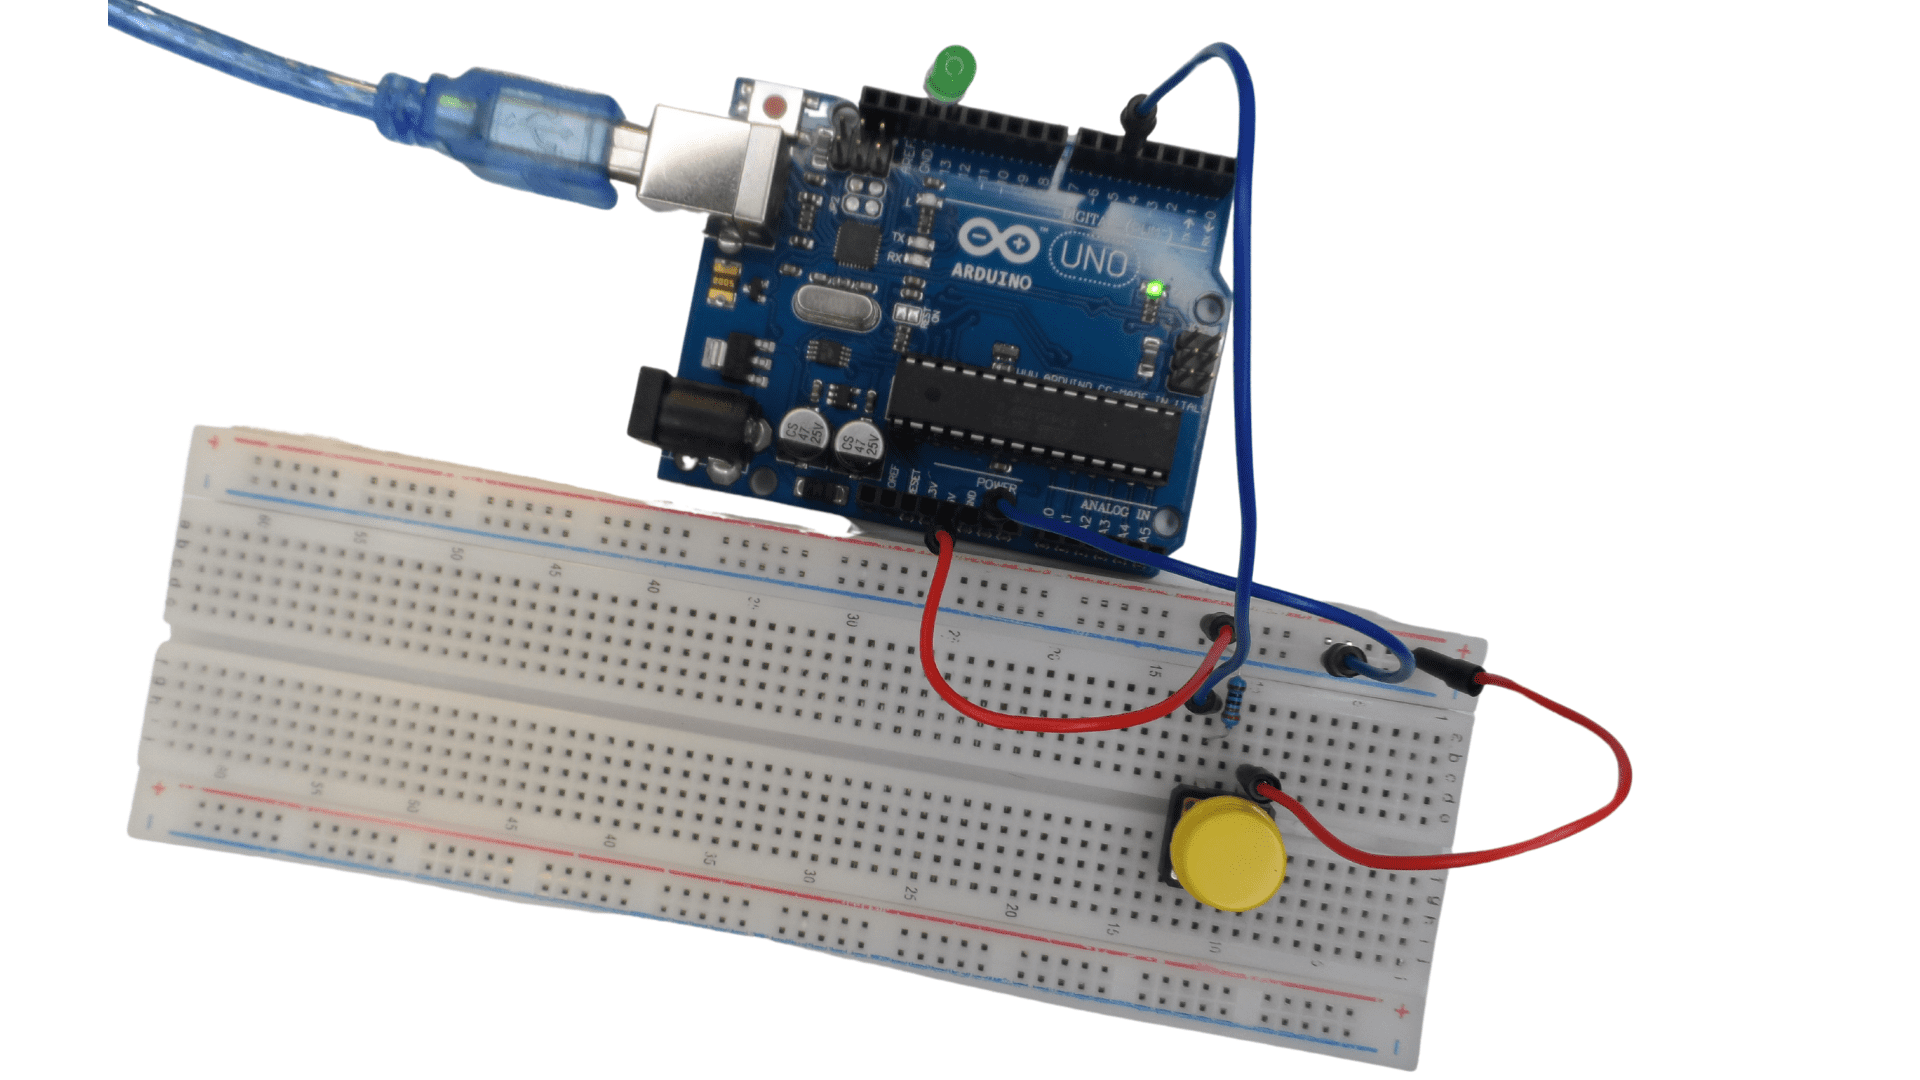
*Plug the negative leg of the LED into the ground pin of the Arduino Uno.*Plug the positive leg of the LED into the 5 V pin of the Arduino Uno.*Plug the blue jumper wire to the PWM digital pin number 5 and connect the second end of the blue jumper wire to the ground rail of the breadboard.
*Connect the pushbutton to the breadboard in a way that the A1 and B1 are connected to a side of the breadboard, and the A2 and B2 are connected to the second side of the breadboard.*Connect the A1 to the positive rail of the breadboard
*Connect a 220-ohm resistor to the B1 leg of the pushbutton*Connect the 3 PWM pin to the B1 in a way that the jumper from this pin is plugged between the two legs of the 220-ohm resistor.

The code of the project
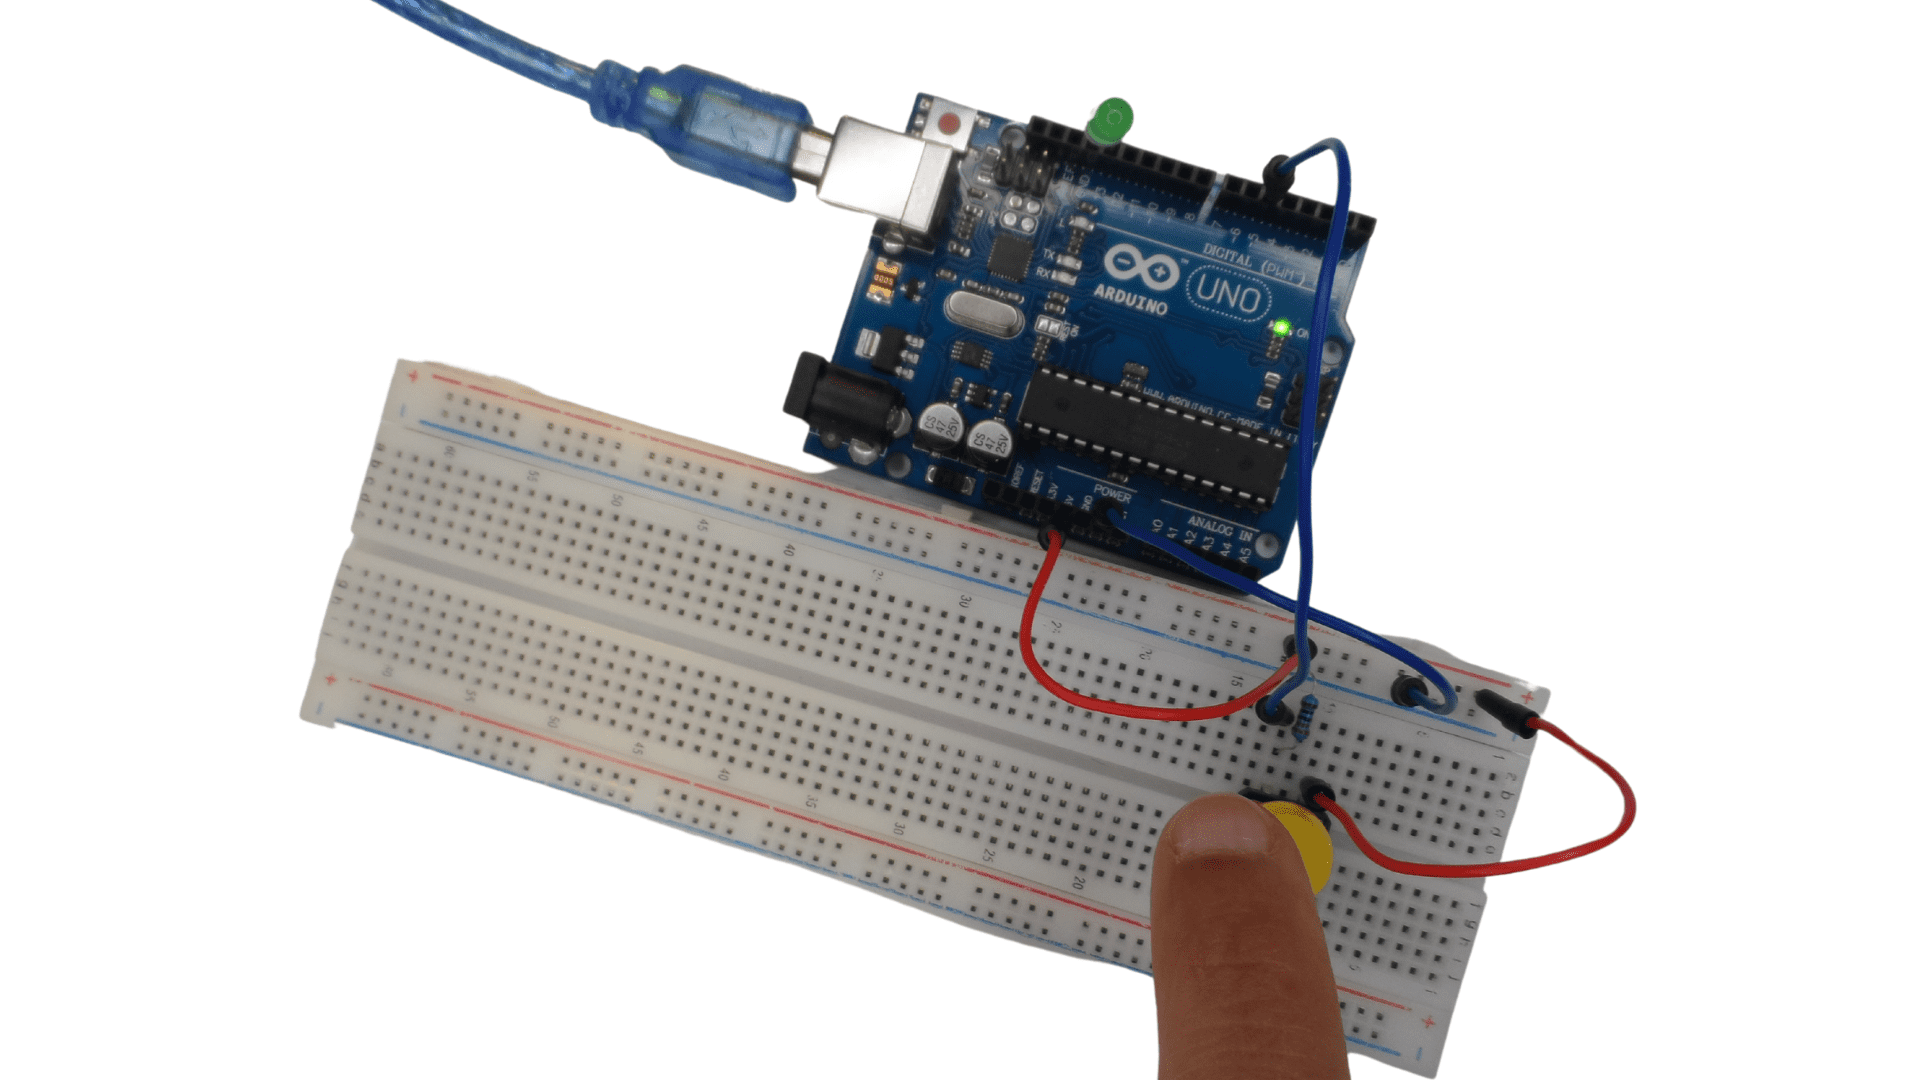
When the pushbutton is pressed, the LED lights up.

// constants won’t change. They’re used here to set pin numbers:
const int bPin = 5; // the number of the pushbutton pin
const int lPin = 13; // the number of the LED pin
// variables will change:
int bState = 0; // variable for reading the pushbutton status
void setup() {
// initialize the LED pin as an output:
pinMode(lPin, OUTPUT);
// initialize the pushbutton pin as an input:
pinMode( bPin, INPUT);
}
void loop() {
// read the state of the pushbutton value:
bState = digitalRead(bPin);
// check if the pushbutton is pressed. If it is, the buttonState is HIGH:
if (bState == HIGH) {
// turn LED on:
digitalWrite(lPin, HIGH);
} else {
// turn LED off:
digitalWrite(lPin, LOW);
}
}
