Introduction
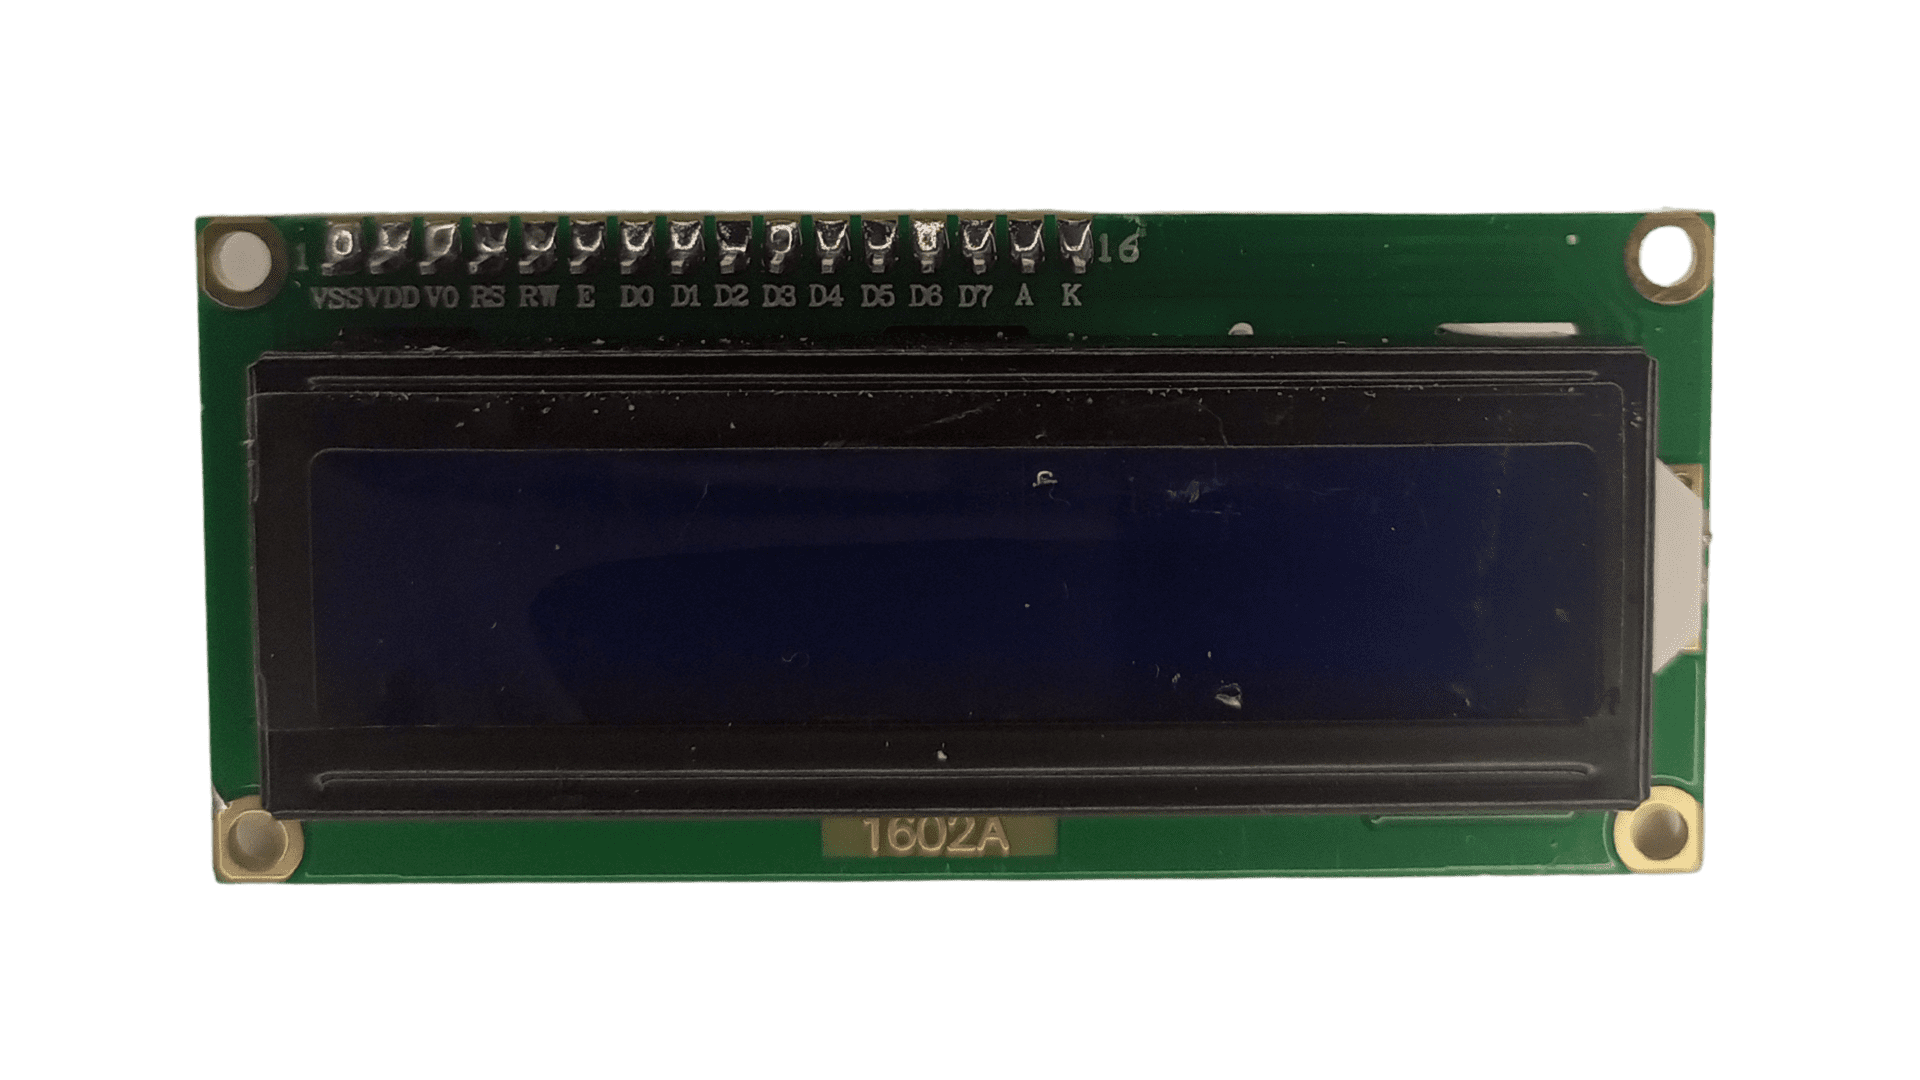
The I2C LCD 1602A module is famous for displaying information in Arduino projects. Its simplicity and versatility make it an excellent addition to your electronics toolkit.
In this guide, we will walk you through connecting the I2C LCD 1602A module to an Arduino board and getting it up and running quickly.
What You Will Need
Before we dive into the connection process, let’s ensure you have all the necessary components to proceed:
- Arduino board (e.g., Arduino Uno)
- I2C LCD 1602A module
- Jumper wires
- Breadboard (optional, but recommended for easier connections)
Now that we have everything ready let’s get started!
Step 1: Wiring the I2C LCD 1602A Module
To connect the I2C LCD 1602A module to your Arduino, follow these steps:
- Locate the I2C pins on your Arduino board. On most Arduino boards, these pins are labeled A4 (SDA) and A5 (SCL).
- Connect the SDA pin on the I2C LCD 1602A module to the SDA pin on your Arduino board using a jumper wire.
- Connect the SCL pin on the I2C LCD 1602A module to the SCL pin on your Arduino board using another jumper wire.
- Connect the VCC pin on the I2C LCD 1602A module to the 5V pin on your Arduino board.
- Connect the GND pin on the I2C LCD 1602A module to any available GND pin on your Arduino board.
Once you have completed the wiring, move on to the next step.
Step 2: Installing the Required Libraries
We need to install the necessary libraries to control the I2C LCD 1602A module with Arduino. Follow these instructions:
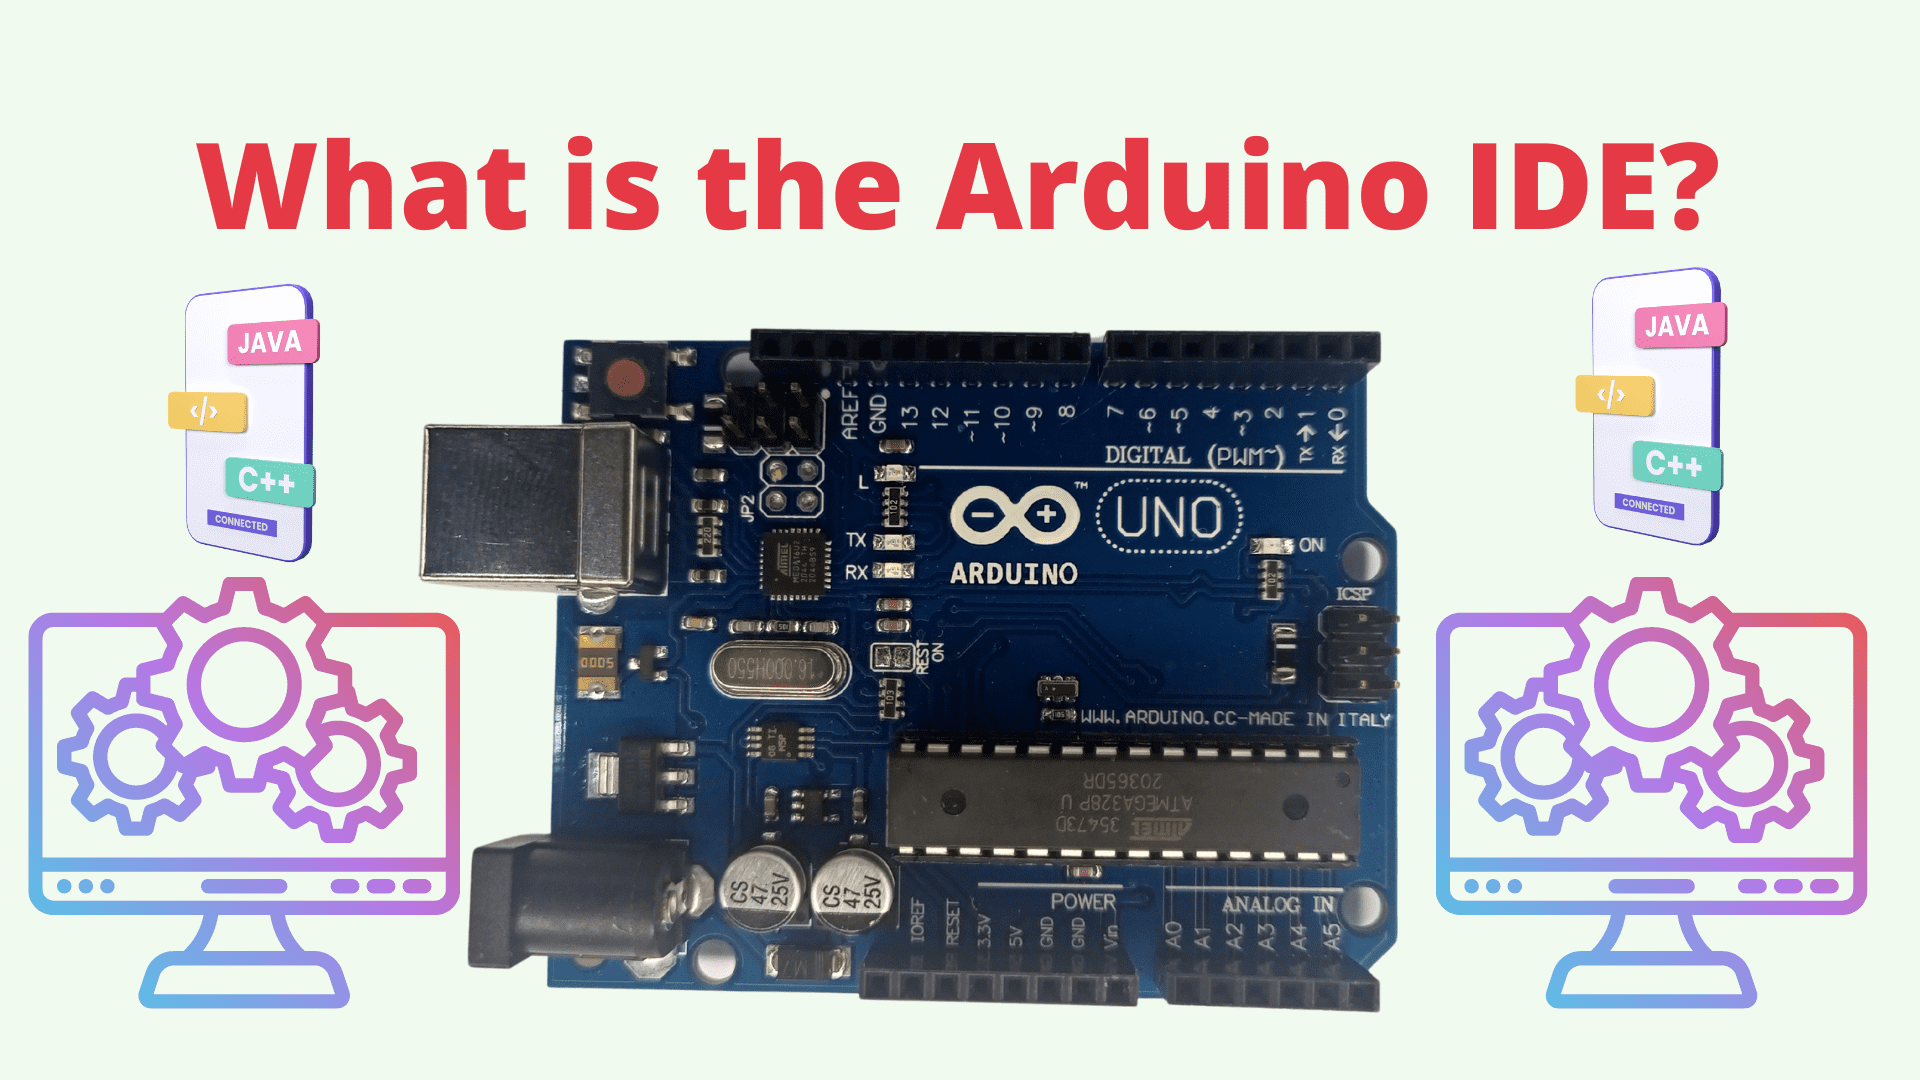
- Open the Arduino IDE (Integrated Development Environment).
- Go to Sketch -> Include Library -> Manage Libraries.
- In the Library Manager, search for “LiquidCrystal I2C” and click on the library by Frank de Brabander.
- Click the Install button to install the library.
- Wait for the installation to complete and close the Library Manager.
With the libraries installed, we can now proceed to the final step.
Step 3: Uploading the Example Code
Arduino provides an example code that allows us to test the functionality of the I2C LCD 1602A module. Here’s how to upload the example code to your Arduino board:
- In the Arduino IDE, go to File -> Examples -> LiquidCrystal I2C -> HelloWorld.
- The example code will open in a new window. Click on the Upload button to upload the code to your Arduino board.
- Once the upload is complete, you should see the “Hello, world!” text displayed on the I2C LCD 1602A module.
Congratulations! You have successfully connected and tested the I2C LCD 1602A module with your Arduino board.
Additional Notes
- If your I2C LCD 1602A module does not display any text or shows garbled characters, double-check the wiring connections and ensure that the libraries are installed correctly.
- The example code provided by Arduino can be modified to display custom messages or implement more complex functionality. Feel free to experiment and explore the possibilities.
Conclusion
This guide covered the steps to connect the I2C LCD 1602A module to an Arduino board. By following the instructions provided, you can easily integrate this module into your Arduino projects and display information.
Remember, the key steps involved in connecting the I2C LCD 1602A module include the following:
- Wiring the module by connecting the SDA and SCL pins to the corresponding pins on the Arduino board and connecting the VCC and GND pins.
- Installing the required libraries, specifically the “LiquidCrystal I2C” library, enables the communication between the Arduino and the LCD module.
- Uploading the example code, such as the “HelloWorld” code, to test the module’s functionality.
With these steps completed successfully, you can display text on the LCD module and expand its capabilities to suit your project’s requirements.
Always double-check your wiring connections and ensure the libraries are installed correctly if you encounter any issues displaying text or experiencing garbled characters on the LCD module.
Feel free to experiment with the example code and explore additional functionalities that can be implemented with the I2C LCD 1602A module. Arduino provides a vast community and resources to support your journey in creating exciting projects.
Now that you know how to connect the I2C LCD 1602A module to your Arduino, let your creativity flourish as you design and build innovative projects that use this versatile display module. Good luck, and happy tinkering!
Frequently Asked Questions
- Can I use the I2C LCD 1602A module with any Arduino board? Yes, the I2C LCD 1602A module can be used with various Arduino boards, such as Arduino Uno, Arduino Mega, and Arduino Nano. The module connects to the I2C pins on the Arduino board, which are labeled as A4 (SDA) and A5 (SCL) on most boards.
-
Is a breadboard necessary to connect the I2C LCD 1602A module to an Arduino?
No, a breadboard is optional but recommended for more accessible connections. The breadboard provides a convenient platform for organizing and connecting the wires between the module and the Arduino board. However, you can also make the connections directly without a breadboard.
-
What should I do if the I2C LCD 1602A module does not display any text or shows garbled characters?
If the module does not display any text or shows garbled characters, it is advisable to double-check the wiring connections. Ensure that the SDA and SCL pins are correctly connected to the corresponding pins on the Arduino board. Additionally, verify that the “LiquidCrystal I2C” library is installed correctly in the Arduino IDE.
-
Can I customize the messages displayed on the I2C LCD 1602A module?
Yes, you can customize the messages displayed on the I2C LCD 1602A module by modifying the example code provided by Arduino. The “HelloWorld” code is a starting point that demonstrates the basic functionality of the module. You can modify the code to display your messages or implement more complex functionality based on your project requirements.
-
Where can I find additional resources and support for working with the I2C LCD 1602A module and Arduino?
Arduino provides a vast community and resources to support your journey in working with the I2C LCD 1602A module and Arduino. You can explore the official Arduino website, forums, and online tutorials for additional guidance. These resources offer a wealth of information, project ideas, and troubleshooting tips to help you maximize your Arduino projects.