Introduction

Welcome to our comprehensive guide on the Arduino Uno R3. In this article, we will provide all the information you need about this powerful microcontroller board. We’ve covered you, from its features and specifications to its applications and programming. So, let’s dive in!
Overview of Arduino Uno R3
The Arduino Uno R3 is a widely popular open-source microcontroller board based on the ATmega328P microcontroller. It is the third iteration of the Arduino Uno series and offers numerous enhancements over its predecessors. The board provides a simple, user-friendly platform for prototyping and creating interactive electronic projects.
Key Features and Specifications
The Arduino Uno R3 has several notable features and specifications that make it a versatile choice for beginners and experienced electronics enthusiasts. Let’s take a closer look at some of its key features:
- Microcontroller
The Arduino Uno R3 is powered by the ATmega328P microcontroller, which operates at MHz clock speed of 16 MHz. This microcontroller has 32KB of flash memory for storing your program code, 2KB of SRAM for variables, and 1KB of EEPROM for data storage. It supports digital and analog I/O pins, allowing you to connect a wide range of sensors, actuators, and other electronic components.
- Input/Output Pins
The board provides 14 digital input/output (I/O) pins, among which 6 can be used as PWM (Pulse Width Modulation) output pins. There are also 6 analog input pins, enabling you to interface with analog sensors or read voltages from the environment. These pins offer great flexibility for connecting various devices and expanding the functionality of your projects.
- USB Interface
The Arduino Uno R3 features a USB interface, allowing you to connect it to your computer for programming and communication. The USB interface is also used to power the board, eliminating the need for an external power supply in most cases. This feature makes the Uno R3 a portable and convenient choice for projects on the go.
- Compatibility
One of the significant advantages of the Arduino Uno R3 is its compatibility with a vast array of sensors, shields, and other expansion modules. Numerous manufacturers produce compatible accessories, making it easy to find components that suit your project requirements. This versatility opens up endless possibilities for creating diverse and complex electronic systems.
- Integrated Development Environment (IDE)
Arduino provides a user-friendly Integrated Development Environment (IDE) that supports the programming of the Arduino Uno R3. The IDE features a simple code editor, a comprehensive set of libraries, and a seamless upload process to the board. Whether you are a beginner or an experienced programmer, the Arduino IDE simplifies the development and testing of your projects.
Applications of Arduino Uno R3

The Arduino Uno R3 finds applications in various domains thanks to its flexibility and ease of use. Here are a few examples of how this board can be utilized:
- Prototyping
The Arduino Uno R3 is an excellent choice for prototyping electronic circuits and systems. Its extensive support for sensors, actuators, and communication protocols lets you quickly build and test proof-of-concept models. Whether you are working on a home automation project or developing a wearable device, the Uno R3 simplifies the prototyping process.
- Education
Due to its beginner-friendly nature and extensive documentation, the Arduino Uno R3 is widely used in educational settings. It is an ideal tool for teaching electronics, programming, and robotics to students of all ages. The simplicity of the Arduino platform allows learners to grasp fundamental concepts and engage in hands-on activities, fostering creativity and problem-solving skills.
- Home Automation
With its wide range of input/output pins and compatibility with various sensors and actuators, the Arduino Uno R3 is popular for home automation projects. Whether you want to control your lights, temperature, or security systems, the Uno R3 can serve as the brain of your automation setup. Its flexibility allows you to tailor the system to your needs and integrate it with other smart devices.
- Robotics
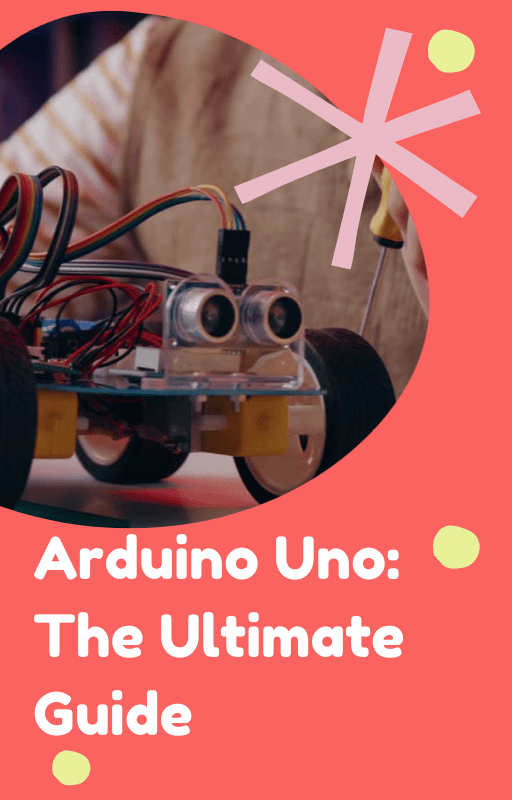
The Arduino Uno R3 is frequently employed in robotics projects, from simple robotic arms to complex autonomous robots. Its ability to interface with motors, sensors, and communication modules makes it an ideal platform for building and controlling robots. With the Arduino Uno R3, you can explore the exciting world of robotics and unleash your creativity in designing and programming intelligent machines.
Getting Started with Arduino Uno R3
If you’re eager to start working with the Arduino Uno R3, here are the basic steps to get you up and running:
Step 1: Install the Arduino IDE
Begin by downloading and installing the Arduino IDE from the official Arduino website. The IDE is available for Windows, Mac, and Linux platforms, ensuring compatibility with your computer.
Step 2: Connect the Arduino Uno R3
Connect your Arduino Uno R3 to your computer using a USB cable. Your operating system should automatically recognize the board.
Step 3: Select the Board and Port
Launch the Arduino IDE and select the correct board and port. To select the Arduino Uno R3, go to the “Tools” menu, navigate to “Board,” and choose “Arduino Uno.”
Step 4: Write and Upload Your First Sketch
Open a new sketch in the Arduino IDE and start writing your code. You can find numerous examples and tutorials online to help you get started. Once you’ve finished writing your code, click the “Upload” button to compile and upload the sketch to your Arduino Uno R3.
Step 5: Explore and Experiment
Congratulations! You’ve successfully programmed your Arduino Uno R3. Now it’s time to explore the vast possibilities offered by the board. Experiment with different sensors, actuators, and libraries to create innovative projects and bring your ideas to life.
Conclusion
The Arduino Uno R3 is a powerful and versatile microcontroller board that opens doors to endless opportunities in electronics and programming. Its simplicity, extensive community support, and compatibility with various components make it a popular choice for beginners and experts alike. Whether prototyping, educating, automating your home, or diving into robotics, the Arduino Uno R3 is your reliable companion.
Remember to unleash your creativity, dive into the vast Arduino community, and continue learning and experimenting with this remarkable board. The journey of exploration and innovation awaits you with the Arduino Uno R3 as your trusted companion. Start building, programming, and making your ideas a reality today!
Frequently Asked Questions about Arduino Uno R3:
1. Can I use the Arduino Uno R3 to prototype electronic circuits and systems? Absolutely! The Arduino Uno R3 is an excellent choice for prototyping electronic circuits and systems. With its extensive support for sensors, actuators, and communication protocols, you can quickly build and test proof-of-concept models. Whether working on a home automation project or developing a wearable device, the Uno R3 simplifies the prototyping process.
2. Is the Arduino Uno R3 suitable for educational purposes? Definitely! The Arduino Uno R3 is widely used in educational settings due to its beginner-friendly nature and extensive documentation. It is an ideal tool for teaching electronics, programming, and robotics to students of all ages. The simplicity of the Arduino platform allows learners to grasp fundamental concepts and engage in hands-on activities, fostering creativity and problem-solving skills.
3. Can the Arduino Uno R3 be used for home automation projects? Absolutely! The Arduino Uno R3 is a popular choice for home automation projects. Its wide range of input/output pins and compatibility with various sensors and actuators make it a versatile option. Whether you want to control your lights, temperature, or security systems, the Uno R3 can serve as the brain of your automation setup. Its flexibility allows you to tailor the system to your needs and integrate it with other smart devices.
4. Is the Arduino Uno R3 suitable for robotics projects? Yes, indeed! The Arduino Uno R3 is frequently used in robotics projects, ranging from simple robotic arms to complex autonomous robots. Its ability to interface with motors, sensors, and communication modules makes it an ideal platform for building and controlling robots. With the Arduino Uno R3, you can explore the exciting world of robotics and unleash your creativity in designing and programming intelligent machines.
5. What are the basic steps to start with the Arduino Uno R3? To get started with the Arduino Uno R3, follow these steps:
- Install the Arduino IDE by downloading it from the official Arduino website.
- Connect the Arduino Uno R3 to your computer using a USB cable.
- Launch the Arduino IDE and select the correct board and port (Arduino Uno R3).
- Open a new sketch, write your code, and use examples and tutorials for guidance.
- Click the “Upload” button in the Arduino IDE to compile and upload the sketch to your Arduino Uno R3.
- Now you’re ready to explore and experiment with different sensors, actuators, and libraries to bring your ideas to life.
Remember, the Arduino Uno R3 is a powerful and versatile microcontroller board that offers endless possibilities in electronics and programming. Embrace your creativity, join the Arduino community, and enjoy the journey of innovation with the Uno R3 as your trusted companion.

