Introduction
This article will show you how to make 3 steps before the first Arduino project:
- Having an Arduino starter kit
- Powering the Arduino Board
- Having a little knowledge of C++
3 Steps before The first Arduino Project
Having an Arduino starter kit

Arduino is a programmable, easy-to-use, open-source electronics platform that allows users to design interactive objects and physical devices.
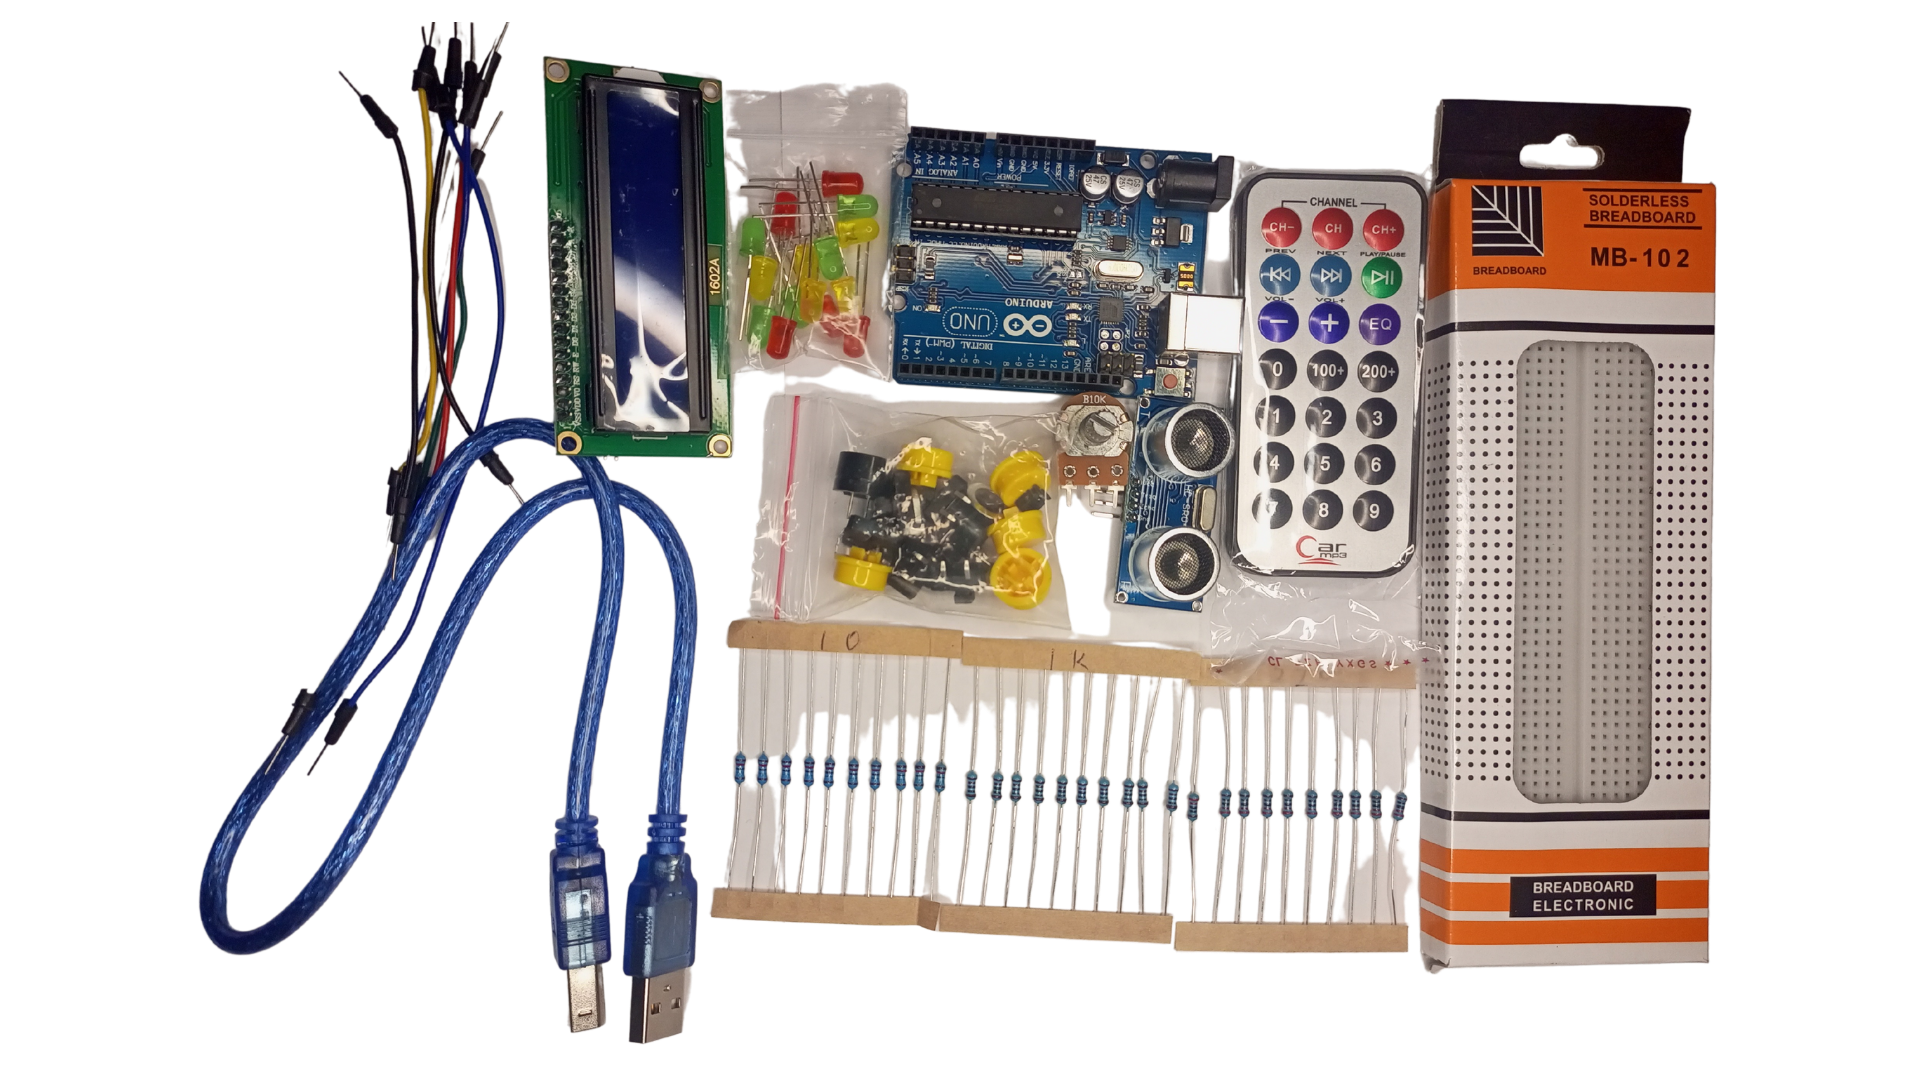
The Arduino Starter Kit comes with everything you need to build your own projects. The kit contains an Arduino board, a USB cable, and a power supply.
It also has a selection of components such as resistors, LEDs, servos, and sensors, which can create different projects.
Having an Arduino starter kit is not just about the hardware. It also comes with a range of software and libraries that you can use to create your projects. This makes it comfier for you to learn how to code without spending too much time on research.
The Arduino starter kit is also an ideal way for beginners interested in learning how to code and build their projects but would instead not invest in expensive courses or books.
Powering the Arduino Board
Powering Arduino with the power supply

A power supply board is valuable for Arduino projects. It provides power to the Arduino board and supplies enough current and voltage to run the components.
An Arduino power supply board is an electronic device that provides power to an Arduino or similar microprocessor-based circuit board computer system. It typically uses DC voltage between 7 V and 12 V, with a maximum current of 40 mA (milliamps).
Powering with DC voltage and the external battery is helpful for specific Arduino projects like robotics projects and home automation projects.
Some people use them as a replacement for batteries.Power supply boards are designed to be easy to use and have many features that make them more convenient than using batteries.
They are also cheaper than using batteries for some projects.An Arduino power supply board is an electronic device that provides power to an Arduino or similar microprocessor-based circuit board computer system.
It typically uses DC voltage between 7 V and 12 V, with a maximum current of 40 mA (milliamps).
Powering Arduino with the USB cable

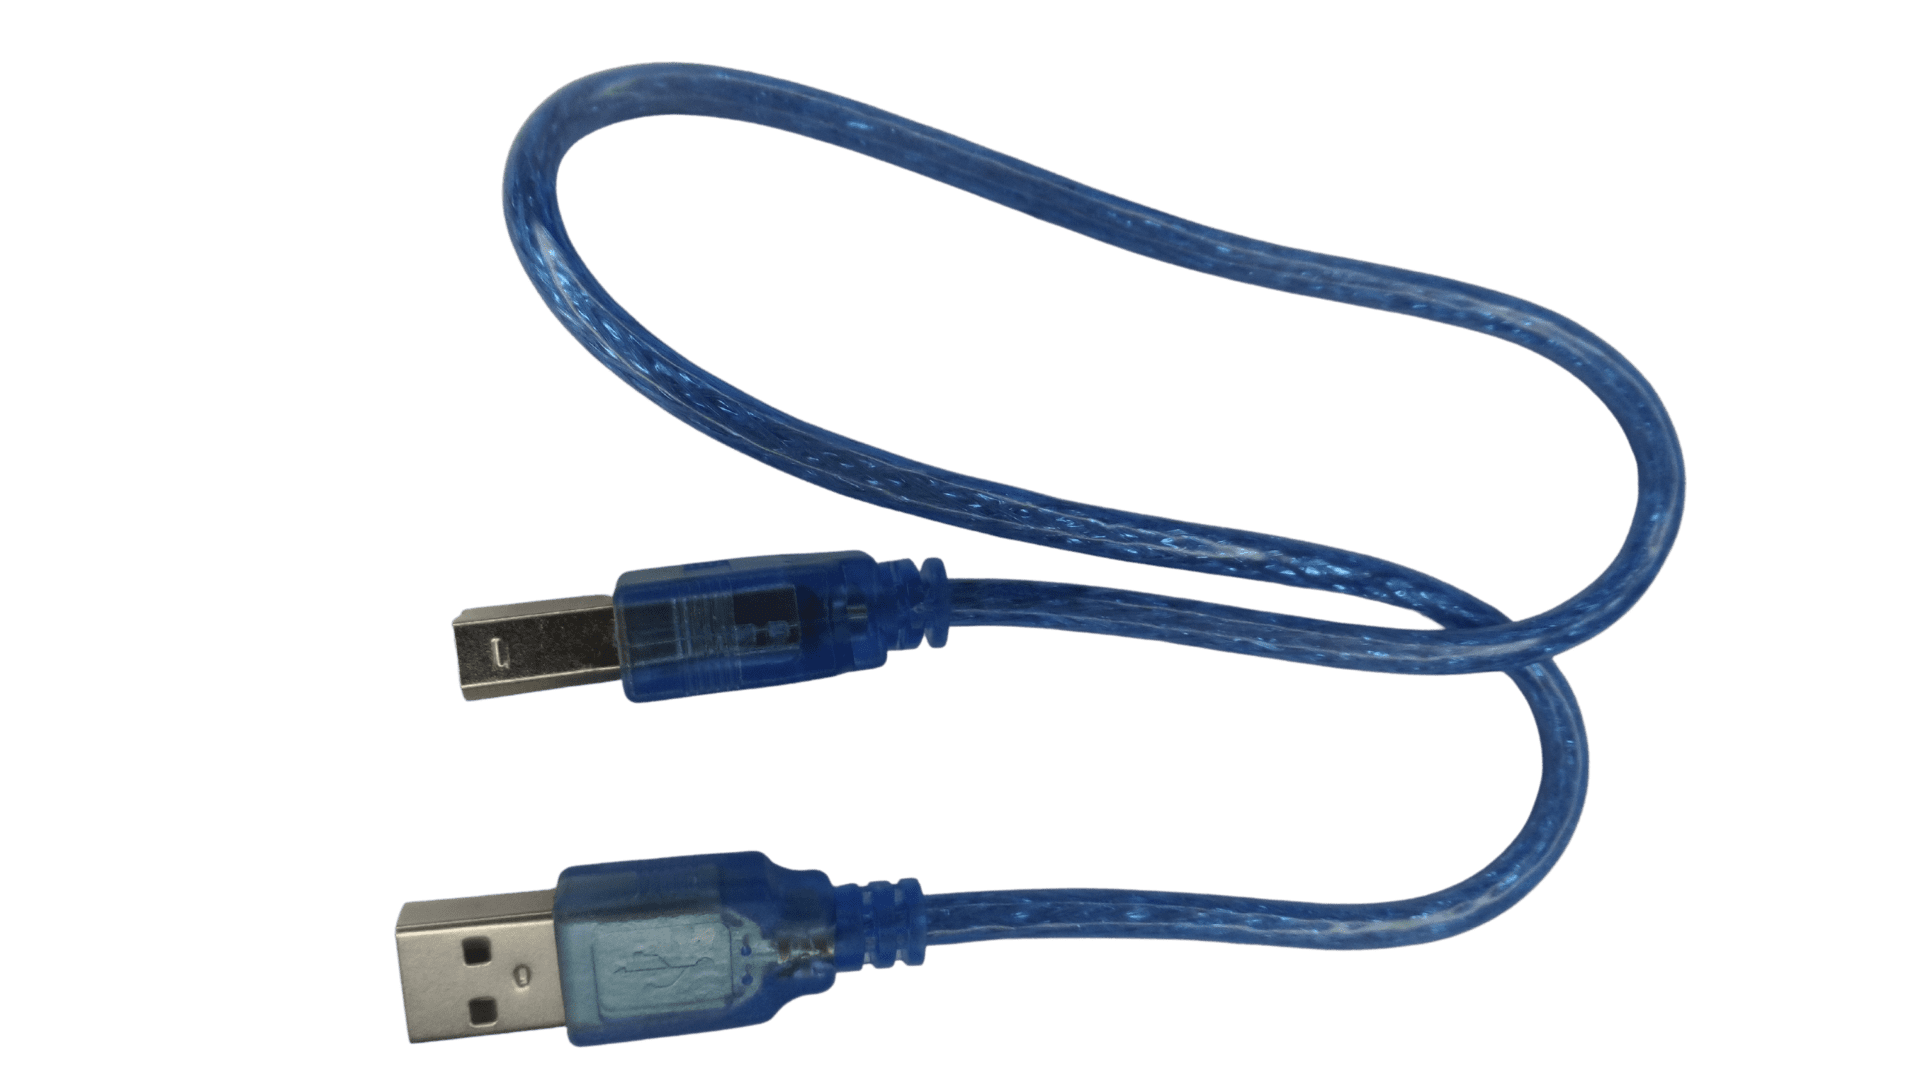
A USB port can power an Arduino. The USB cable, in this case, can be linked via a laptop or an external power source that can provide enough voltage.

The average voltage supplied in all cases can not be more than 12V. The laptop power the Arduino Board with 5V.
The importance of the Arduino regulator to protect the Arduino Board
Arduino regulator is a device that is used to regulate the voltage and current of DC power.This regulator has an input of 12V and an output of 5V.
The regulator also has a built-in automatic thermal shutdown circuit that protects the device from being damaged.
The Arduino regulator can be used to power any electronic components with ease. It can easily cut off power when it senses a low voltage or high temperature.
The availability of a power regulator in Arduino gives convenience in using Arduino and supports the protection system in programming using Arduino.
Little knowledge of C++ to program Arduino projects

C++ is a high-level programming language that can be used to write code for the Arduino microcontroller. It’s a popular choice for developers who want to work with the Arduino platform.
Using C++, you can build Arduino applications and projects with adaptable functions for Arduino fields and other basic concepts.
The Arduino IDE
The Arduino IDE (Integrated Development Environment) is a software application that can be used to develop code and upload it on an Arduino board.
It also includes libraries, which provide functionality for specific tasks like generating digital signals, controlling motors, etc.
Start applying, learning, and progressing.
The Arduino programming experience and failure is a topic that has been on my mind for a few years now. I’ve struggled with myself and with other people I’ve talked to about it.
I was first introduced to the Arduino in my high school robotics class. It was an exciting concept that I had never really heard of before.
The idea of using electronics and microcontrollers to create robots and other machine-like devices was intriguing, but I didn’t know how to program them.
So, when I got home from school one day, I decided to buy an Arduino Uno R3 (which can be purchased for around $30) to learn how to program it and make something cool with it.
I started learning how to program, and you can do the same.
Conclusion

3 steps before the first Arduino project is a beginner-friendly guide to the Arduino project. It will step you through the process of building your project with an Arduino board.
- Step 1: Having an Arduino starter kit
- Step 2: Little knowledge of C++ to program Arduino projects
- Step 3: Start applying, learning, and progressing
