Introduction
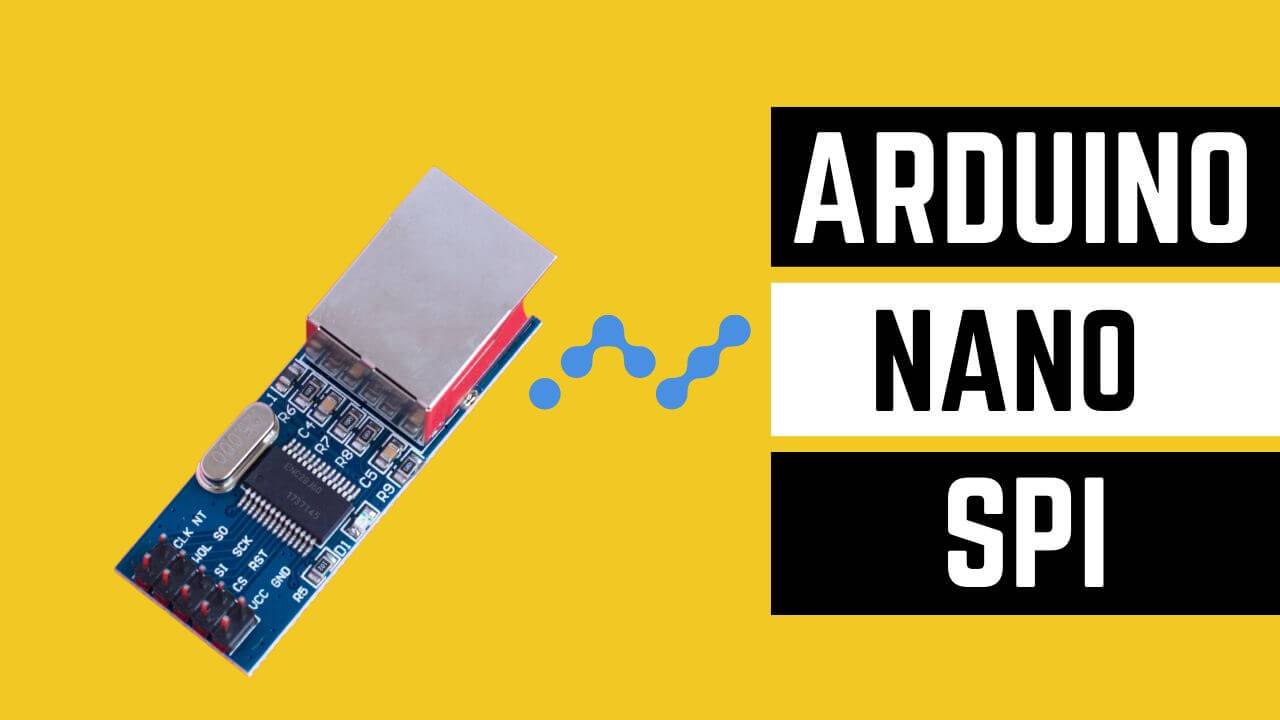
Welcome to the exciting world of Arduino Nano SPI! In this blog post, we will embark on a journey to revolutionize your understanding of Arduino Nano and unleash a wave of innovation through the power of SPI (Serial Peripheral Interface). If you are passionate about electronics, tinkering with hardware, and exploring the possibilities of embedded systems, then you have reached the right place.
Arduino Nano SPI is a gateway to many cutting-edge projects and applications. Whether you are a seasoned fan or just starting, this compact yet powerful microcontroller is designed to fuel your creativity and push the boundaries of what is possible. By leveraging the SPI communication protocol, Arduino Nano SPI enables seamless connectivity with a wide range of peripheral devices, opening up endless opportunities for experimentation and development.
Throughout the article, we will delve into the fundamentals of Arduino Nano SPI, exploring its key features and advantages. We will guide you through the initial setup process, ensuring you have a solid foundation to embark on your Arduino Nano SPI projects. Additionally, we will dive into advanced techniques and pro tips to maximize performance and troubleshoot common issues.
So, if you are ready to unlock the true potential of Arduino Nano SPI and witness the magic of innovation unfold, join us as we delve into the exciting world of revolutionizing embedded systems. Together, we will explore the ins and outs of Arduino Nano SPI, uncovering its limitless possibilities and inspiring you to create groundbreaking projects that leave a lasting impact. Get ready to launch on this extraordinary journey of creativity and discovery with Arduino Nano SPI. The revolution starts now!
Understanding Arduino Nano SPI
Exploring the Basics: What is Arduino Nano SPI?
Regarding Arduino Nano, SPI (Serial Peripheral Interface) is a critical feature that opens up a world of possibilities. However, what exactly is Arduino Nano SPI, and how does it work?
At its core, Arduino Nano SPI is a communication protocol that facilitates seamless interaction between the Arduino Nano microcontroller and various peripheral devices. SPI enables high-speed, full-duplex data transfer, allowing the Arduino Nano to communicate with multiple devices simultaneously.
Key Features and Advantages of Arduino Nano SPI
Arduino Nano SPI boasts several key features and advantages that make it a popular choice among electronics enthusiasts and professionals alike:
- Versatile Connectivity: With Arduino Nano SPI, you can connect a wide range of SPI-compatible devices, such as sensors, displays, memory modules, and more. This versatility enables you to integrate complex systems and build sophisticated projects.
- High-Speed Data Transfer: SPI operates at high speeds, ensuring rapid and efficient data transfer between the Arduino Nano and connected devices. This feature is particularly beneficial for time-sensitive applications that require real-time communication.
- Simultaneous Communication: One of the most significant advantages of Arduino Nano SPI is its ability to communicate with multiple devices concurrently. This simultaneous communication capability simplifies complex setups and facilitates efficient data exchange across various peripherals.
- Enhanced Performance: Arduino Nano SPI optimizes performance by reducing the overhead associated with other communication protocols. It streamlines data transfer, minimizing latency and enabling the smooth operation of connected devices.
- Robust and Reliable: Arduino Nano SPI offers a reliable and stable communication channel, ensuring secure data transmission even in noisy environments. Its robustness makes it ideal for industrial applications and projects requiring long-term reliability.
By understanding the basics of Arduino Nano SPI and harnessing its key features and advantages, you gain the foundation needed to embark on exciting projects and unleash your creativity in the world of embedded systems. In the following sections, we will guide you through setting up your Arduino Nano SPI environment and explore the intricacies of connecting and configuring SPI devices. Get ready to take your Arduino Nano experience to new heights!
Getting Started with Arduino Nano SPI
Setting up Your Arduino Nano SPI Environment
Setting up your environment properly is crucial before diving into the exciting world of Arduino Nano SPI. Here’s a step-by-step guide to get you started:
- Obtain an Arduino Nano: First and foremost, acquire an Arduino Nano board, which serves as the heart of your project. You can find genuine Arduino Nano boards from authorized resellers or online platforms.
- Install the Arduino IDE: The Arduino Integrated Development Environment (IDE) is a user-friendly software that allows you to write, compile, and upload code to your Arduino Nano. Download and install the latest version of the Arduino IDE from the official Arduino website.
- Connect Your Arduino Nano: Use a USB cable to connect your Arduino Nano to your computer. Ensure the connection is secure and your operating system correctly recognizes the Nano.
- Install Arduino Nano SPI Libraries: To work with Arduino Nano SPI, you must install the necessary libraries. Open the Arduino IDE, go to “Sketch” > “Include Library” > “Manage Libraries,” and search for the SPI library. Install the library and any additional libraries required for your specific SPI devices.
Connecting and Configuring SPI Devices
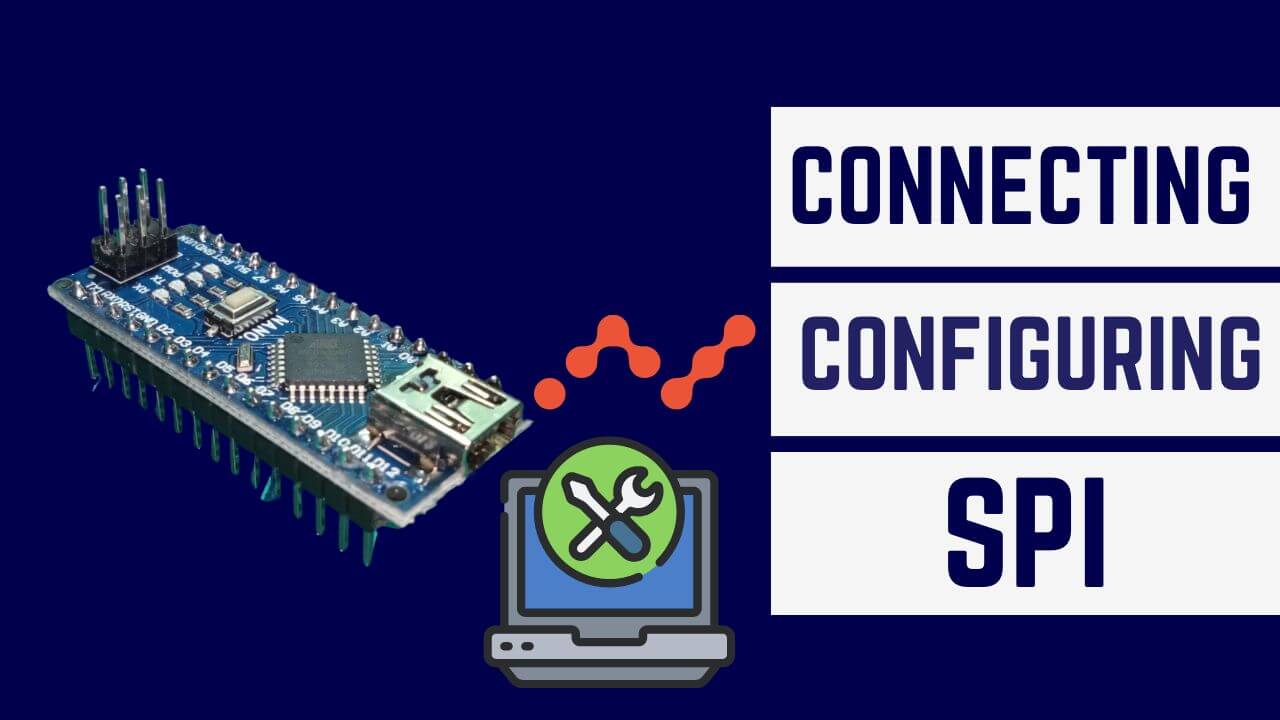
Now that your environment is set up, it is time to connect and configure your SPI devices. Follow these steps to establish communication:
- Identify SPI Pins: Locate the SPI pins on your Arduino Nano. These pins are typically labeled as MOSI (Master Out Slave In), MISO (Master In Slave Out), SCK (Serial Clock), and SS (Slave Select). Consult the Arduino Nano documentation or pinout diagram to find the exact location of these pins.
- Connect SPI Devices: Connect your SPI devices to the corresponding pins on the Arduino Nano. Ensure that you make the necessary connections securely and double-check the pin mappings for each device.
- Configure SPI Settings: Configure the SPI settings to match the specifications of your connected devices. This includes clock speed, data order (MSB or LSB first), and data mode (0, 1, 2, or 3). Refer to the datasheets or documentation of your SPI devices for the appropriate settings.
- Write and Upload Code: Now, you can write your code using the Arduino IDE. Utilize the SPI library to communicate with your connected devices. Implement the necessary functions and commands to send and receive data via SPI.
By following these steps, you can set up your Arduino Nano SPI environment and establish seamless communication with your SPI devices. In the next section, we will delve into building customized projects with Arduino Nano SPI, where you will unleash your innovation and create special applications.
Unleashing Innovation with Arduino Nano SPI
Building Customized Projects with Arduino Nano SPI
Arduino Nano SPI opens up a world of possibilities for building customized projects that push the boundaries of innovation. Here are some critical steps to help you embark on your creative journey:
- Identify Your Project Idea: Start by brainstorming ideas that align with your interests and goals. Whether creating a home automation system, designing a weather station, or developing a robotic prototype, let your imagination soar and identify the project that excites you the most.
- Plan and Gather Components: Once you have your project idea, create a detailed plan outlining the required components and materials. Research the SPI-compatible devices that will bring your project to life and ensure you have all the necessary components readily available.
- Design the Circuit: Lay out the circuit design for your project, considering the connections and interactions between the Arduino Nano and the SPI devices. Use circuit design software or pen and paper to visualize and optimize the layout.
- Develop the Code: Begin coding your project using the Arduino IDE. Leverage the SPI library and explore the vast online resources, including tutorials and code examples, to help you implement the desired functionality.
- Test and Iterate: As you progress, regularly test and debug your code and circuit to identify any issues or improvements needed. Iteratively refine your project, making adjustments to the code, circuitry, or components as necessary to achieve the desired outcome.
Advanced Techniques for Maximizing Arduino Nano SPI Performance
To maximize the performance of your Arduino Nano SPI projects, consider implementing advanced techniques that can enhance efficiency and functionality:
- Optimize SPI Communication: Fine-tune the SPI communication parameters, such as clock speed and data mode, to achieve optimal data transfer rates and minimize potential interference.
- Employ Interrupts: Utilize interrupts to handle SPI events and streamline your code execution efficiently. Interrupts can enhance the responsiveness of your project by allowing the Arduino Nano to handle multiple tasks simultaneously.
- Implement DMA (Direct Memory Access): If your project demands high-speed data transfer, consider leveraging DMA to offload data transfer tasks from the CPU, enabling faster and more efficient communication.
- Consider Hardware Acceleration: Some Arduino Nano models may feature additional hardware components like SPI accelerators or auxiliary SPI controllers. Explore the capabilities of your specific board to leverage these hardware resources for improved performance.
By building customized projects with Arduino Nano SPI and incorporating advanced techniques, you can unleash your innovation and take your projects to new heights. Stay curious, experiment, and embrace Arduino Nano SPI’s possibilities.
In the next section, we will investigate common issues that may arise during your Arduino Nano SPI journey. Get ready to tackle challenges head-on and optimize the performance of your projects!
Arduino Nano SPI Troubleshooting and Tips
Common Issues and How to Resolve Them
While working on Arduino Nano SPI projects, you may encounter specific issues that can hinder progress. Here are some common issues you may face and tips on how to resolve them:
- Communication Errors: If you experience communication errors between the Arduino Nano and your SPI devices, double-check the wiring connections and ensure they are secure. Verify that the SPI pins are correctly connected, and check for any loose or faulty connections.
- Incorrect SPI Settings: If your SPI devices are not functioning as expected, review the SPI settings in your code and ensure they match the specifications of your connected devices. Verify the clock speed, data order, and data mode, as mismatches can cause communication problems.
- Power Supply Issues: Insufficient power supply can lead to erratic behavior or failure of SPI devices. Ensure that your power source can provide adequate voltage and current to meet the requirements of all connected devices.
- Interference and Noise: SPI communication can be sensitive to interference and noise. Keep your wiring away from potential sources of interference, such as high-voltage lines or motors. Implement proper grounding techniques to minimize noise and ensure reliable communication.
Pro Tips for Optimizing Arduino Nano SPI Projects
To optimize your Arduino Nano SPI projects and elevate their performance, consider the following pro tips:
- Use Shielded Cables: Shielded cables can help reduce electromagnetic interference and improve signal integrity during SPI communication. Use shielded cables to connect the Arduino Nano and SPI devices whenever possible.
- Implement Error Checking: Incorporate error-checking mechanisms in your code to validate data integrity during SPI communication. Implement checksums or other error-detection techniques to ensure accurate data transfer.
- Leverage Hardware Features: Explore the hardware features of your Arduino Nano model. Some boards may offer additional functionalities, such as onboard SPI accelerators or multiple SPI controllers. Utilize these features to optimize performance and handle complex tasks more efficiently.
- Optimize Code Efficiency: Write efficient code by optimizing loops, minimizing delays, and utilizing hardware resources effectively. Avoid unnecessary operations that can slow your program execution and impact SPI communication.
By troubleshooting common issues and implementing optimization tips, you can overcome obstacles and enhance the performance of your Arduino Nano SPI projects. Remember to document any solutions you discover for future reference and share your experiences with the Arduino community.
In conclusion, Arduino Nano SPI offers endless possibilities for innovation and creativity. By addressing challenges head-on and applying these troubleshooting and optimization techniques, you will be well-equipped to take your projects to new heights. Now, continue your Arduino Nano SPI journey with confidence and enthusiasm!
Conclusion
In conclusion, Arduino Nano SPI catalyzes revolutionizing the world of embedded systems and unleashing innovation. By understanding the basics of Arduino Nano SPI, exploring its key features, and learning how to set up the environment, connect devices, and optimize performance, you have gained the necessary knowledge to embark on exciting projects and push the boundaries of what is possible.
Throughout this blog post, we have explored the immense potential of Arduino Nano SPI, from building customized projects to leveraging advanced techniques. We have also addressed common troubleshooting issues and provided valuable tips for optimizing your Arduino Nano SPI projects.
As you continue your Arduino Nano SPI journey, remember to stay curious, experiment, and embrace the challenges that come your way. Document your learnings, share your experiences, and contribute to the vibrant Arduino community. Together, we can inspire and support one another in our quest for innovation.
Arduino Nano SPI empowers you to create unique applications, from home automation systems to robotic prototypes. Let your imagination run wild and unleash your creativity, knowing you have the tools and knowledge to turn your ideas into reality.
So, what are you waiting for? Embrace the Arduino Nano SPI revolution and embark on a journey of endless possibilities. From designing circuits to writing code, from troubleshooting to optimization, you now possess the skills and understanding to take your Arduino Nano SPI projects to new heights.
Join the community of passionate Arduino enthusiasts, share your projects, and inspire others with your innovations. With Arduino Nano SPI, the revolution starts now. Let your imagination soar and create the future of embedded systems with Arduino Nano SPI.
FAQs (with answers)
- Q: What is Arduino Nano SPI, and how does it work? A: Arduino Nano SPI is a communication protocol facilitating seamless interaction between the Arduino Nano microcontroller and peripheral devices. It enables high-speed, full-duplex data transfer, allowing the Arduino Nano to communicate with multiple devices simultaneously.
- Q: What are the key features and advantages of Arduino Nano SPI? A: Arduino Nano SPI offers versatile connectivity, high-speed data transfer, simultaneous communication with multiple devices, enhanced performance, and robust reliability. These features make it ideal for integrating complex systems and building sophisticated projects.
- Q: How do I set up my Arduino Nano SPI environment? A: To set up your Arduino Nano SPI environment, obtain an Arduino Nano board, install the Arduino IDE, connect your Arduino Nano to your computer, and install the necessary SPI libraries. This ensures you have the hardware and software components for working with Arduino Nano SPI.
- Q: How do I connect and configure SPI devices with Arduino Nano SPI? A: To connect and configure SPI devices, you first need to identify the SPI pins on your Arduino Nano and connect your devices accordingly. Then, you configure the SPI settings, such as clock speed and data mode, to match the specifications of your connected devices. Finally, you can write and upload code using the Arduino IDE to communicate with your SPI devices.
- Q: What are some common issues with Arduino Nano SPI projects, and how can I troubleshoot them? A: Common issues with Arduino Nano SPI projects include communication errors, incorrect SPI settings, power supply issues, and interference/noise. To troubleshoot these issues, ensure secure wiring connections, verify correct SPI settings, check power supply adequacy, and minimize interference by keeping wiring away from potential sources. Additionally, implementing optimization tips like using shielded cables and writing efficient code can further enhance project performance.
Adjust the responses according to your SEO guidelines and incorporate relevant NLPs to make them more engaging and valuable to readers.