Introduction
Does your Arduino project have a chance of success if you solder it? Yes! But, you know that soldering is a time-consuming and tedious process that interrupts your project. That’s where we come in! The issue with soldering is that it interrupts your project, requiring time and patience.
Soldering Arduino projects 101 is the first guide before Access to the world of Arduino soldering.This article will teach you how to solder with Arduino boards and components.
We’ll give you some tips on technique, tools, and materials and show you how to put your new skills into practice with an Arduino project!
Arduino soldering projects 101
Having amazing Arduino projects
Arduino is a platform for building digital devices and interactive objects that can sense and control physical processes.
With Arduino, you can create unique projects like robots, intelligent lighting, drones, etc.Arduino projects are a great way to learn about electronics and programming. They are also a perfect way to make cool gadgets.
Arduino is a very versatile and easy-to-use platform for building interactive objects. It is one of the most widespread platforms for DIY projects.
Having an Arduino project is not just about making a cool gadget. It’s also about learning. You can learn how to solder, design circuits, and even create your code with the help of the Arduino IDE.
Soldering preparation for Arduino projects
What is soldering?
Soldering is the process of joining metals to form a joint. It is done using heat and molten metal, often flux and solder. Solders can also be used to join other materials such as plastic, rubber, paper, and composites.
Soldering is a type of metalworking that involves using heat to join pieces of metal. It is used in the manufacturing process for electronic components, heavy machinery, appliances, and more.

Learn soldering for Arduino projects
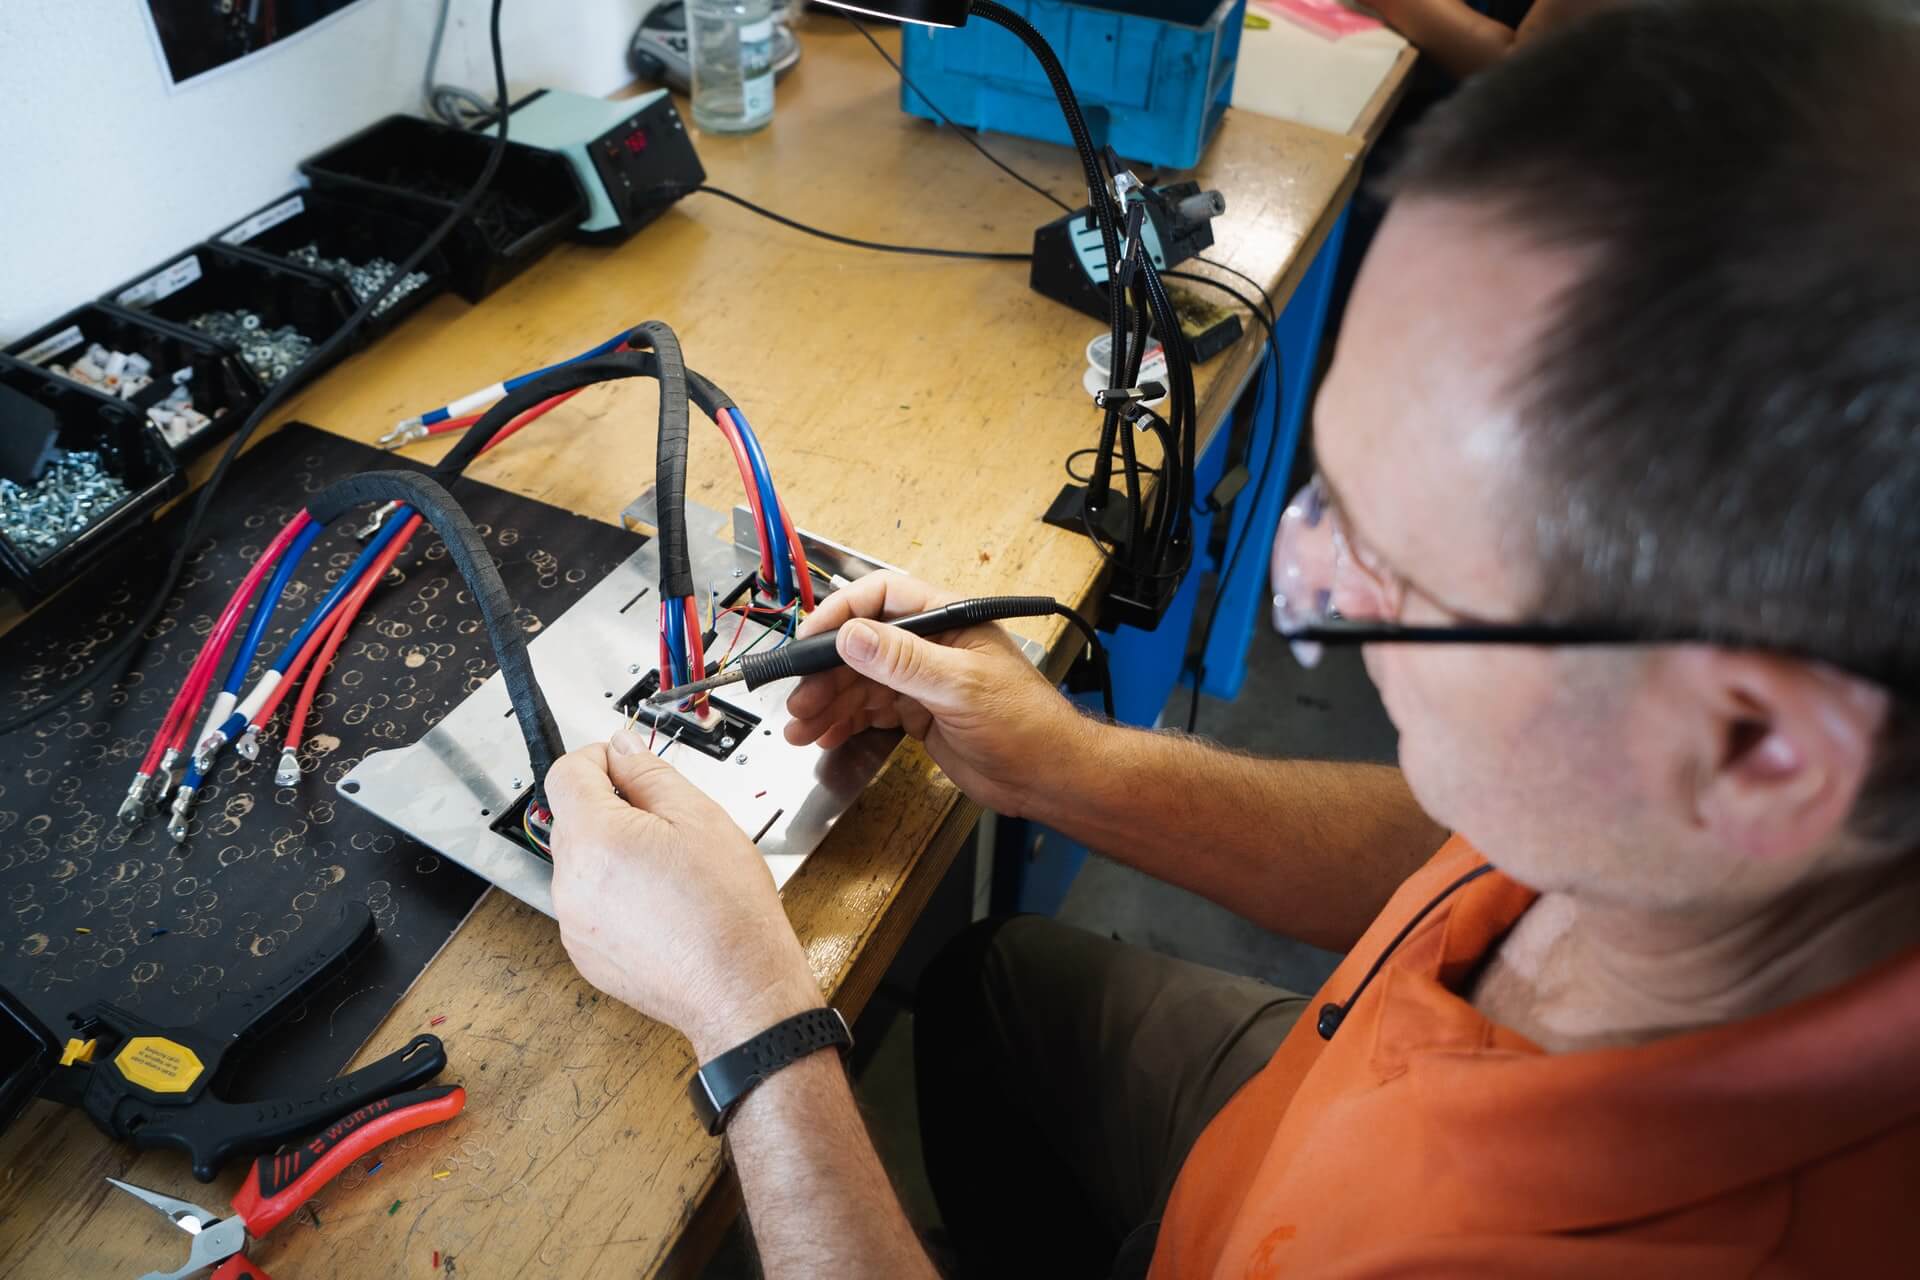
When working with electronics, you will need to solder wires and components onto the circuit board. This allows you to create circuits that can be used in projects such as robots, drones, and other electronic devices.
Soldering preparation

Soldering preparation for Arduino projects includes:
- Cleaning the work surface
- Removing any residue and dirt from the work area
- Using flux to cover the work area and avoid oxidation
Fritzing describes this process as using a “soap pad” of solder to remove particles before beginning the project. After cleaning, applying flux is also an essential step in preparing for soldering that can be completed with a standard silver solder block or desoldering braid To ensure good heat transfer and reliability.
The no-clear flux pen is mainly helpful for old boards. For newer boards, just cleaning them with a cloth is sufficient.
Soldering using wire cutters
Solder wire cutters are used to cut wire strands and then join them together. It is also helpful in cutting wires to get them out of their socket aesthetics and cleanliness.
A small fan to eliminate soldering smoke
A common problem in soldering is smoke production, which can be hazardous for workers and equipment. These small fans have made it possible for workers to work without worrying about smoke getting into their lungs.
A small fan is a valuable tool for anyone to eliminate smoke from soldering or other work involving hot objects. It’s also easy to use and affordable.
With the help of a small fan, the user can eliminate the smoke while still being able to solder. This will also make sure that they are not exposed to any toxic substances or fumes which could harm them or their work area.
Simple maintenance tips for Arduino soldering
Soldering is easy to learn, but it can be tricky to do well. If done incorrectly, the joint can break apart or not correctly connect. Here are some simple tips for soldering your next project:
Simple maintenance tips for Arduino soldering
Use a solder with a low melting point, such as lead-free tin-lead solder
Apply flux to the joints before soldering. This will help with heat transfer and prevent oxidation of the joint
Place a small amount of solder on the tip of your iron and use this to melt down both pieces of metal before connecting them. This will ensure that both parts have been heated evenly and properly
Soldering Arduino circuits
Soldering is an excellent skill for people who want to build their circuits or electronics projects. You can also use it as a hobbyist or maker.
Soldering is a skill that requires practice and patience. If you are a novice to soldering, it might take you some time until you get used to it. But with the right tools, you will be able to solder your circuits without any problems.
Arduino soldering tool kit
The domain of soldering is a skill that requires practice, patience, and skillful hands. It’s not easy to master, but it can be learned through tutorials or guides on the internet.
If you don’t want to spend your time learning how to solder by yourself, you can try out a soldering tool kit like Arduino kits which are designed for people who want an easier way to learn about electronics.
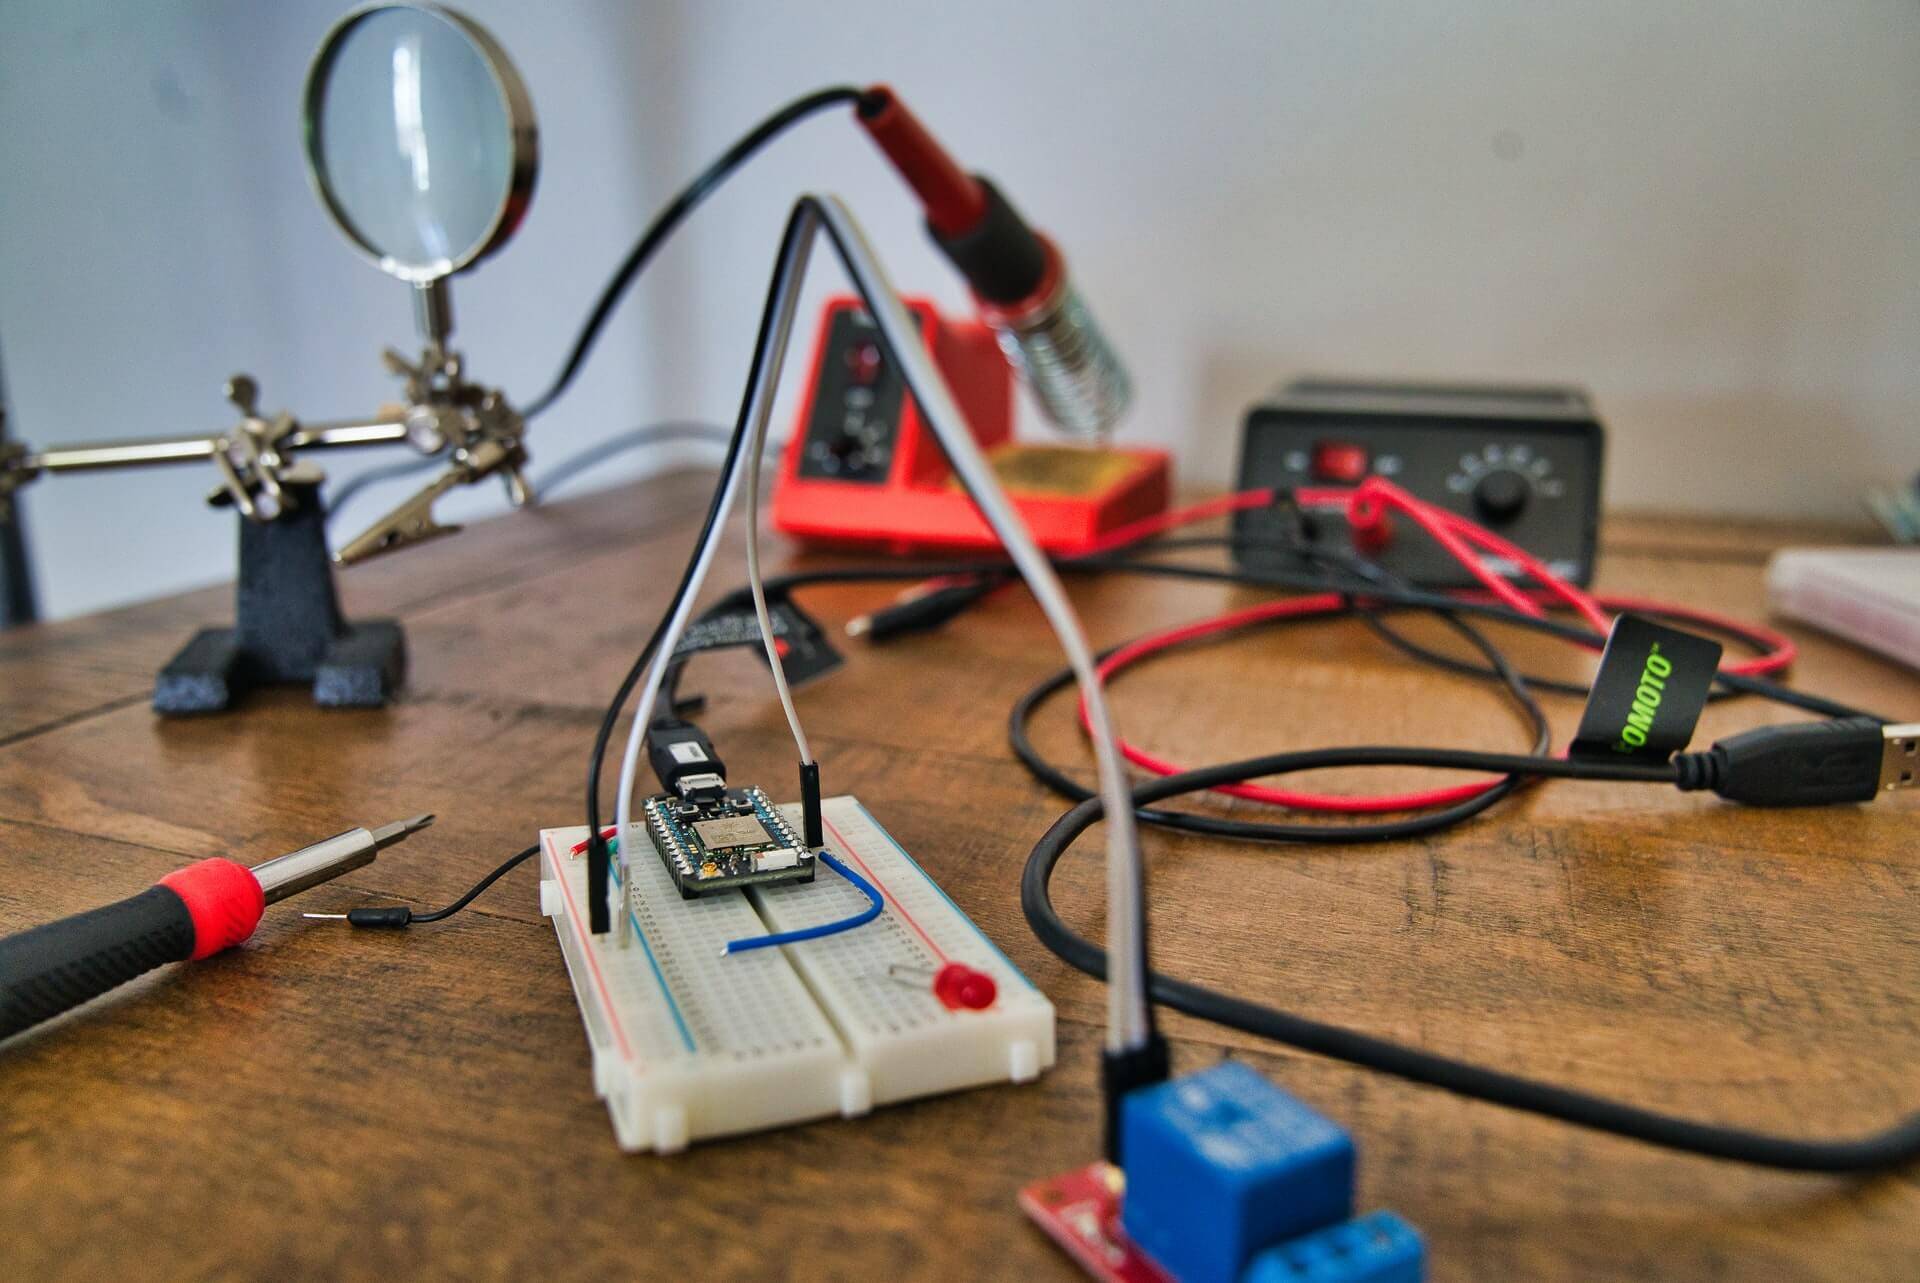
The Arduino soldering tool kit is a tool kit that comes with many different parts and accessories to help you solder. It comes with a soldering iron, a solder, and other tools. It helps build your projects, but it can also be used in classrooms or home.The soldering kit includes the flowing tools:
Soldering iron
Soldering irons can be used for a variety of purposes, such as:
- Solder paste is applied to the joint and then heated with a soldering iron
- A thin wire is wrapped around the joint, and the soldering iron is used to heat up the solder on the wire, melting it into place
- A piece of metal is heated in a flame until it melts and then pressed into place over another piece of metal that has been preheated with a soldering iron
Solder
Solder is an alloy of lead and tin, with a melting point of around 800 °C.Solder is used in electronics, soldering irons, and many other applications.
Wire strippers
Wire strippers are used to strip the insulation from the wire before connecting it to a circuit. They are commonly used in electrical and electronics work.The best way to use wire strippers is by first cutting the insulation off of the wire with a utility knife, then using the wire stripper as you would normally.
Needle-nose pliers
Needle-nose pliers are used for various tasks, from loosening a screw to removing a broken piece of jewelry. Mechanics and electricians also use them to perform multiple tasks.One of the most common uses for needle-nose pliers is to grasp objects that have been inserted into tight spaces, such as screws or bolts. They are also helpful for gripping wires, pipes, and other things that have been stripped of their insulation.
Tweezers

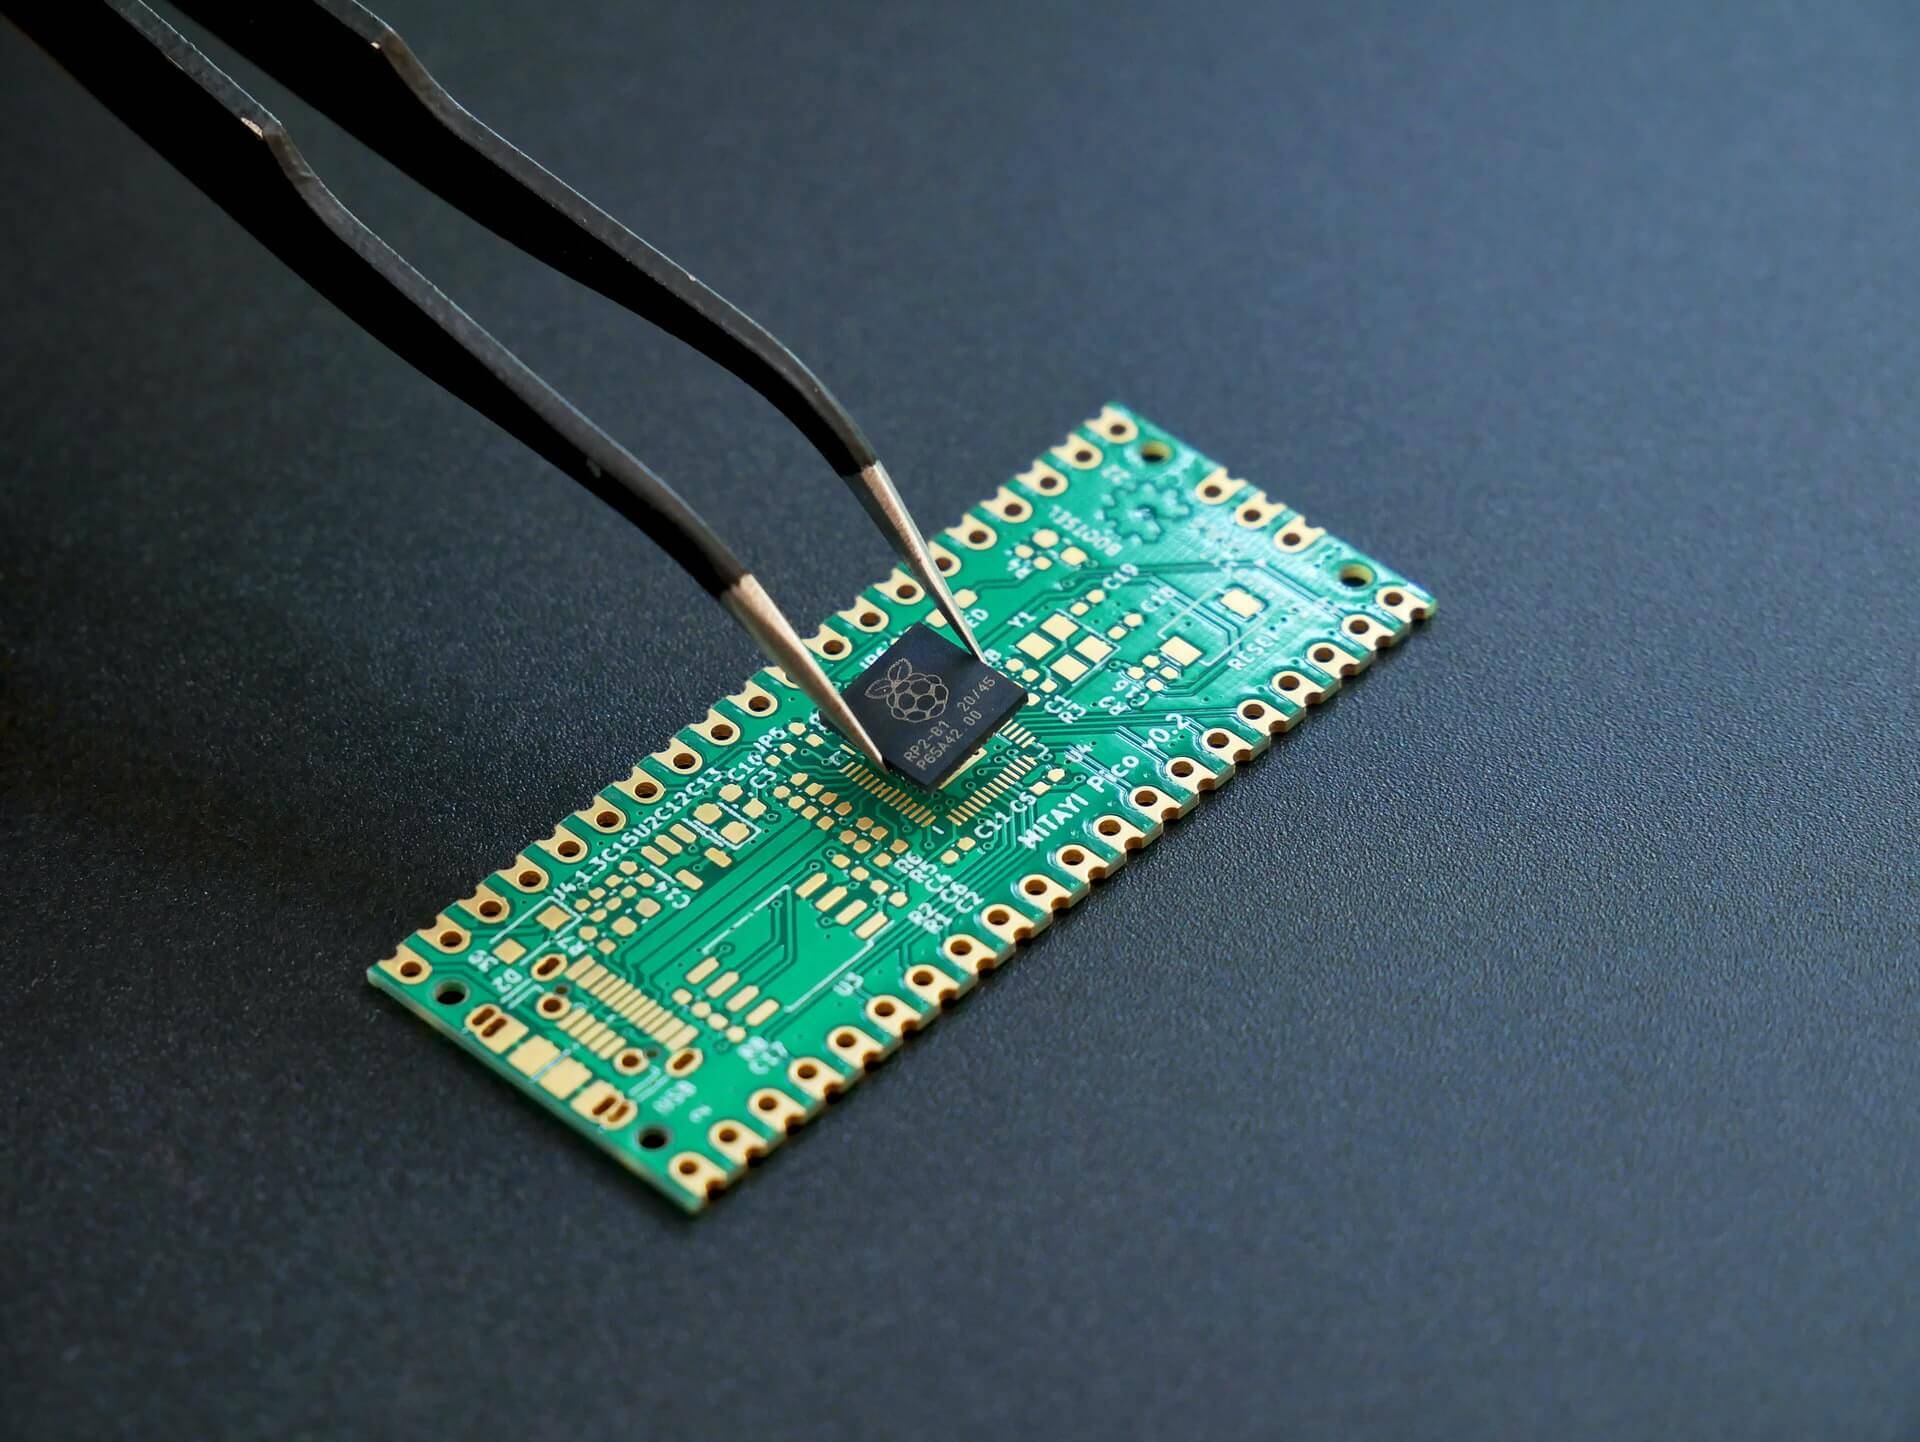
Tweezers are small and handheld instruments used to pick up small objects. They are commonly used in the soldering field, but they can also be used in other areas.Tweezers are handy tools that can be found in almost every household. They have been around for a long time, and they continue to be popular because they are straightforward to use and provide many benefits.Tweezers were originally made out of metal, but today there is a wide variety of them available as far as materials go. This allows people with different preferences regarding the type of tweezers that best suit their needs.
Small screwdriver
This is a small screwdriver that can repair small electronic devices. It is designed to be easy to use and has a sleek design. A small screwdriver is a standard tool that can be used to fix most small household appliances. It is usually made of metal and has a round head with a sharp point at one end and a handle.
Conclusion

Conclusion
The Arduino programmer added to his valuable career tools if he could solder his Arduino projects. Soldering is easy to manage and manipulate, and there are some basics to Familiarity with it. The process of soldering when making some Arduino projects is fun and expands the possibilities of making more critical Arduino projects.
